Your First Euphonium Sound Begins With Balance and Air
Playing euphonium becomes much easier when the first lesson is organized around a few physical habits instead of a race to high notes. Sit tall without stiffness, bring the mouthpiece to a relaxed embouchure, breathe quietly into the lower ribs, and move air through the instrument without squeezing the throat. The first goal is not volume or range. It is a centered tone that starts cleanly and can be repeated without strain. Once that foundation feels dependable, valve fingerings, articulation, reading, and tuning have a stable place to grow.
A: An open B-flat or F is common; accept the comfortable resonance and refine it.
A: Use only enough contact to seal the air without crushing lip vibration.
A: Beginners usually gain control by keeping them supportive rather than ballooned.
A: Ten to twenty focused minutes is enough at first, with rest when the lips tire.
A: Air speed, lip tension, or mouthpiece pressure may have selected another harmonic.
A: Brief relaxed buzzing can help, but it should support playing rather than exhaust the lips.
A: After warming up and producing a repeatable tone.
A: Follow the manufacturer and teacher because valve materials and assemblies differ.
A: Adjust support and posture; do not build endurance through strain.
A: Expand range gradually after middle-register tone and breath remain dependable.
Step 1: Map the Euphonium’s Working Parts
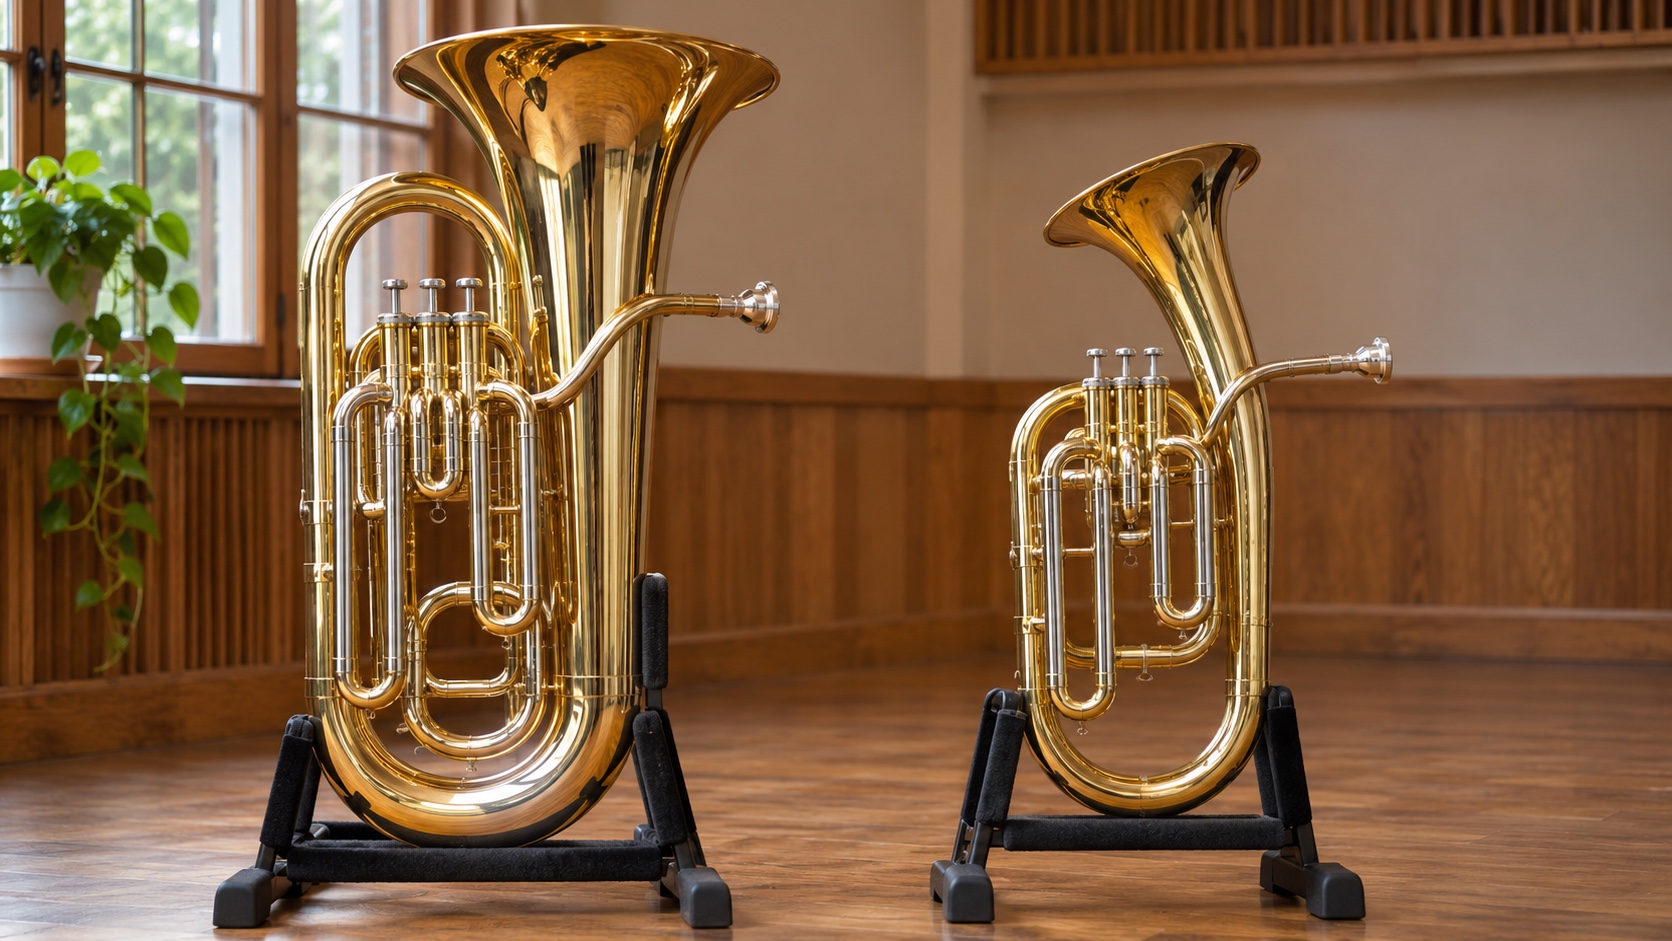
Locate the broad bell, mouthpiece receiver, valve block, main tuning slide, individual valve slides, and water keys. On a compensating four-valve euphonium, notice the additional tubing and the fourth valve’s position. These parts explain why the instrument is heavier and more compact in the lap than its long acoustic tube might suggest. Open the case flat, lift from sturdy main tubing with two hands, and never use the bell rim or a slide as a handle. Insert the mouthpiece with a light twist. Press each piston and listen for a free return; a misaligned guide or dry valve belongs with a teacher or technician, not extra finger force.
Step 2: Support the Euphonium Without Closing the Chest
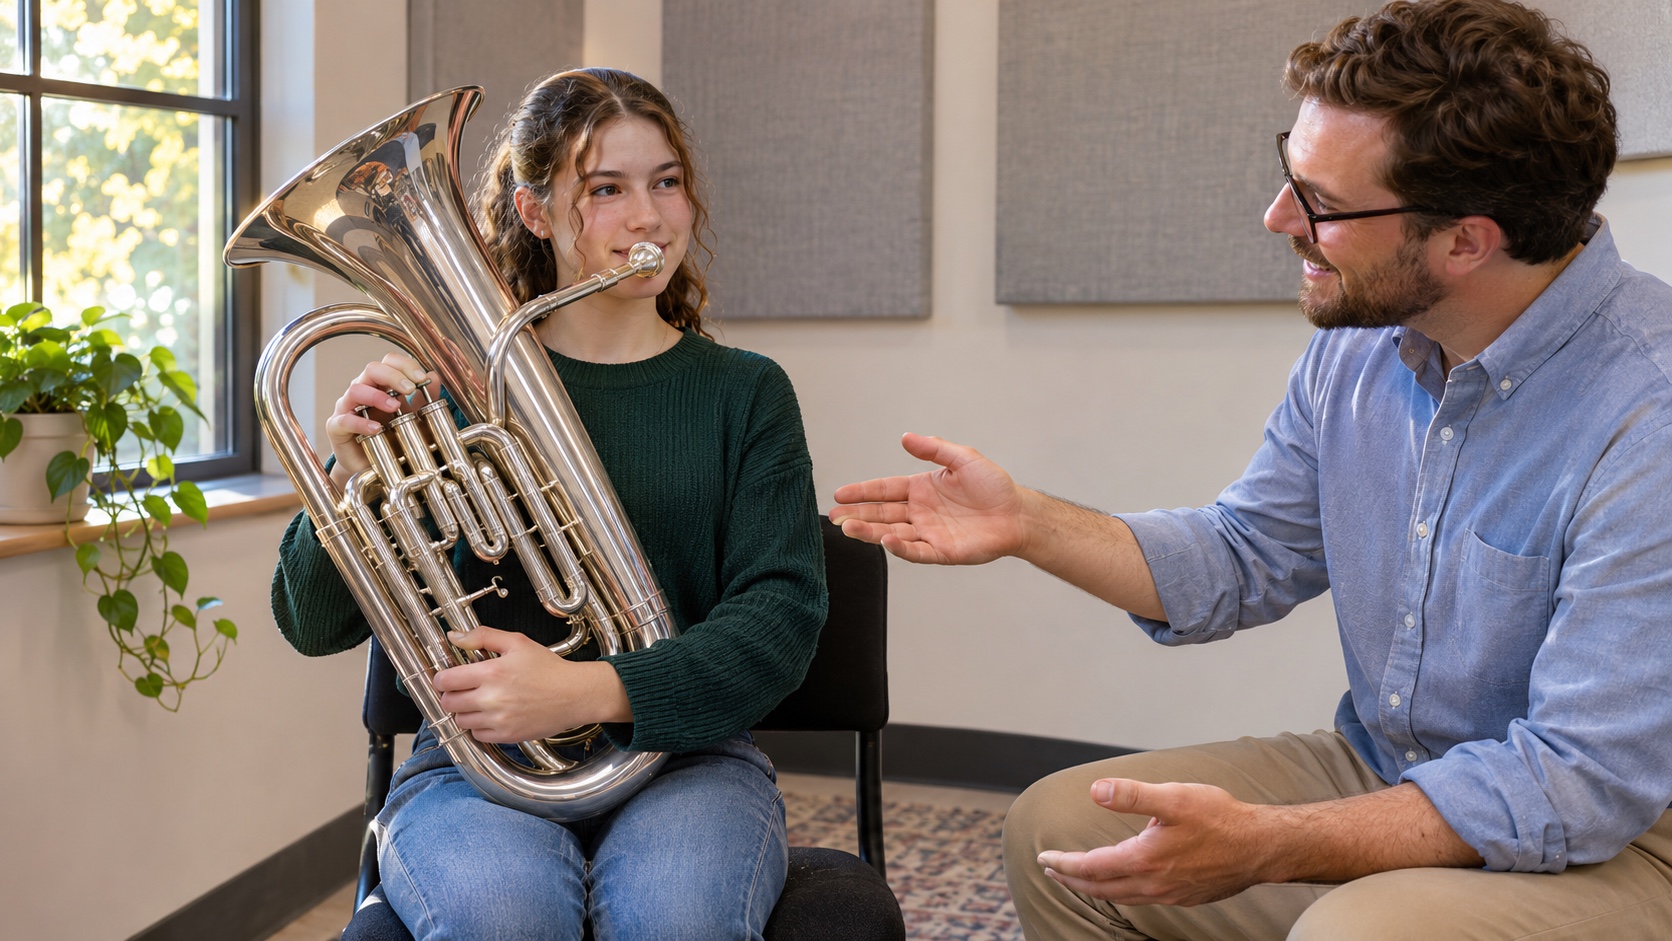
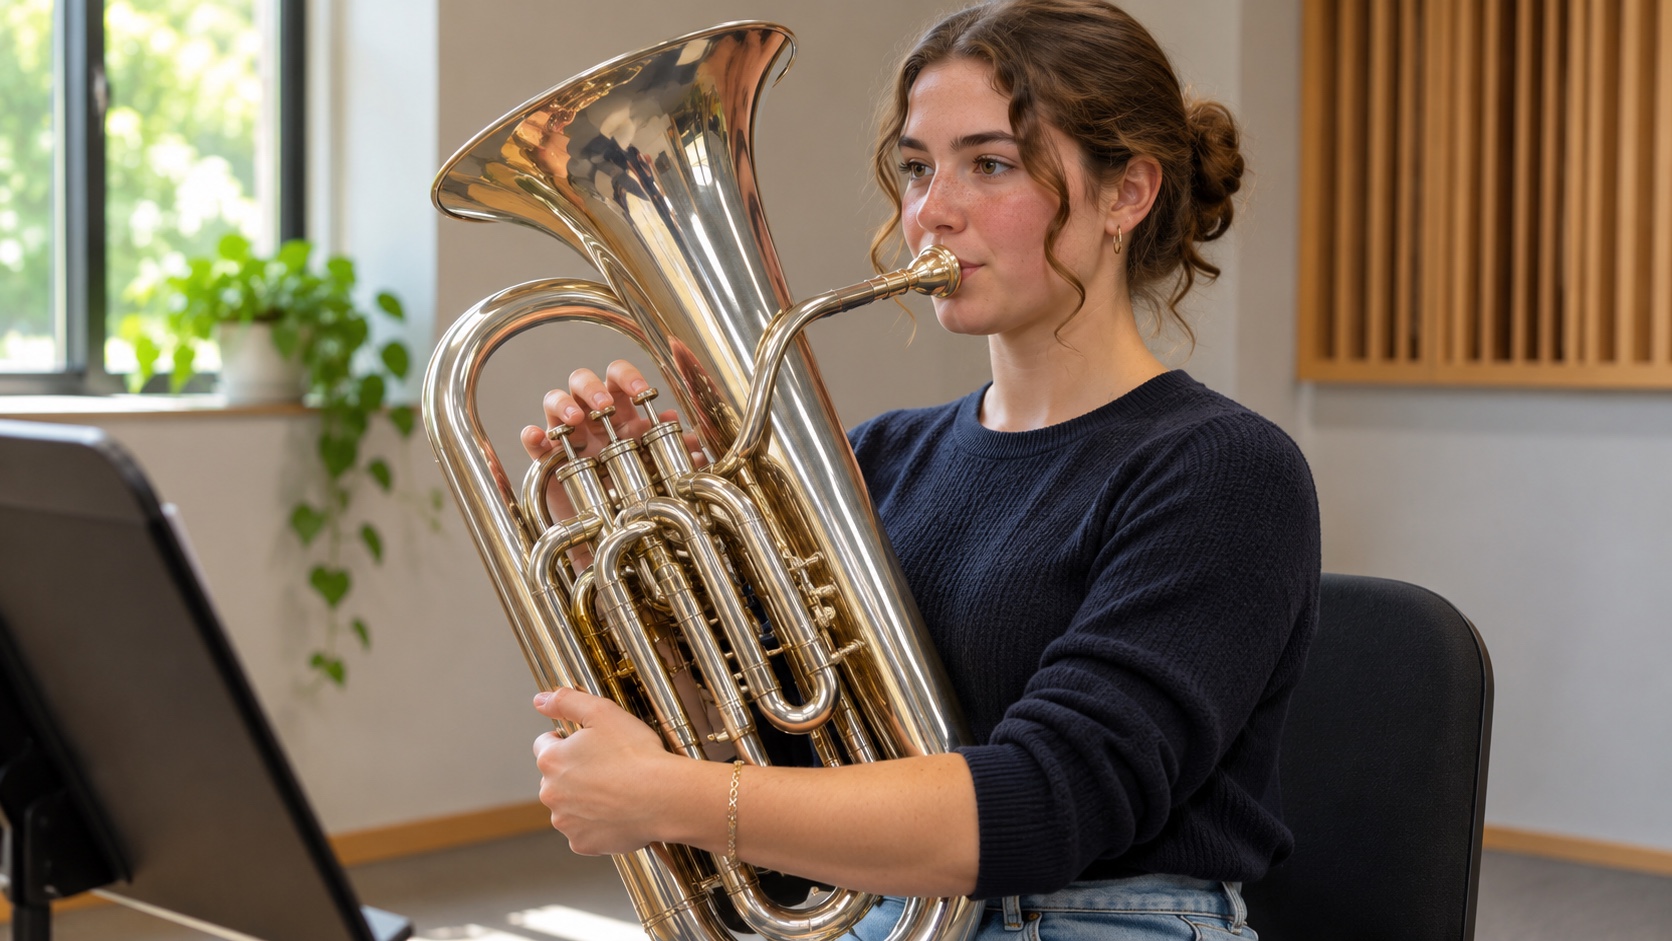
Rest the bottom bow on the thigh or an appropriate support so the mouthpiece meets the face while the head stays level. The instrument should not be clamped against the abdomen. A pad or purpose-built rest can correct height for a smaller player without making the left arm carry the entire mass.
Let the left hand stabilize the tubing and place the right fingertips squarely over the piston buttons. Check that the fourth valve, if present, is reachable without twisting the wrist. Euphonium posture succeeds when the large instrument feels settled before the player inhales.
Step 3: Move the Broad Air Column From the First Beat
Imagine filling the instrument with warm, moving air rather than firing a narrow jet. Inhale through an open mouth and begin the exhale without a pause. Because the euphonium rewards a continuous column, practice blowing through a four-count phrase shape—growing slightly, then tapering—rather than measuring a long empty exhale. Transfer that shape to the mouthpiece and then the horn. If the middle of the note sags, the problem may be interrupted flow rather than insufficient lung capacity. Use normal breaths between attempts and stop if breathing drills cause dizziness.
Step 4: Set an Embouchure That Can Change Registers
Bring naturally closed lips to the large cup mouthpiece with firm but unstretched corners and a relaxed center. The jaw should leave room inside the mouth for a rounded vowel. Avoid manufacturing a dark sound by opening so far that the lips lose contact and response.
Start with a comfortable middle buzz, then gently glide a small distance up and down. That flexibility matters because one euphonium fingering accesses several harmonics. The face should guide those changes without a smile, jaw thrust, or increasing mouthpiece pressure.
Step 5: Center One Open Resonance
With no valves depressed, breathe in time and release the tongue as the air begins. Accept the easiest open resonance—often concert B-flat or F—and learn its feel before naming every harmonic. A centered euphonium note should have a stable core without a hard edge at the attack. Repeat short four-count notes with full rests. If the horn jumps to another partial, sing the intended pitch, reduce pressure, and keep the vowel consistent. Three repeatable starts are more useful than one long note held past comfortable support.
Step 6: Hear Valve Length, Not Just Finger Numbers
From the secure open note, compare second valve, first valve, and first-plus-second. Listen to how each added tube lowers the pitch while the embouchure and air remain on the same resonance. Press pistons fully and vertically so the ports align; a half valve creates resistance that can be mistaken for a breathing problem.
Play the sequence as paired notes—open to second, open to first, open to first-plus-second—then reverse it. On a four-valve instrument, save the fourth-valve low register until the basic response is stable. The early goal is to connect changes without bumps in tone color.
Step 7: Connect Notes With Lip Slurs
An open instrument can produce several notes without valves because the lips select different resonances. Begin on the comfortable open note and gently increase air speed to reach the next open note above. Think of a smooth change in vowel rather than a jaw jerk. Return downward without collapsing the posture. Two-note slurs expose excess pressure quickly, so stop if the mouthpiece digs into the lips. Practice the same motion with second valve, then first valve, using long rests between small sets.
Step 8: Separate Notes With the Tongue
Articulation gives a note a defined beginning but does not create the sound by itself. Whisper “too-too-too” while blowing a steady stream. The tongue interrupts or releases the air near the upper teeth; it should not punch the lips or move the jaw.
Play four quarter notes on one easy pitch, leaving a clear but connected space between them. Then repeat on a simple valve pattern. If every attack has a different tone, slow down and rebuild the breath before blaming the tongue.
Step 9: Read Rhythm Before Pitch
Clap and count a short exercise before playing it. Keep the beat steady with a metronome at a comfortable tempo. Identify the first pitch, sing or say the rhythm, and trace the valve pattern silently. This separates three tasks that can overwhelm a new player when attempted at once. When the music begins, continue through a small mistake instead of restarting every measure. Finish the phrase, mark the problem, and isolate it afterward. That habit develops ensemble resilience and prevents the first bar from receiving all the practice.
Step 10: Begin Tuning With the Main Slide
Warm the instrument for several minutes before using a tuner. Play a comfortable sustained note with normal tone. If the overall pitch is sharp, lengthen the main tuning slide; if flat, shorten it. Move only a small amount and play again.
A tuner reports pitch but cannot diagnose every cause. Tension, weak air, extreme dynamics, room temperature, and an unstable buzz all move the display. Beginners should learn a consistent sound first and use a teacher to interpret recurring tendencies.
Step 11: Divide Practice Between Resonance and Music
Begin with supported open notes and slow slurs that reconnect the day’s air to the instrument. Follow with one valve pattern, then spend the largest block on a melody or ensemble line. Euphonium practice should not become a collection of physical drills; its singing role is learned by shaping complete phrases. Mark one breath plan and one tone goal in the music. Rest at least as much as you play during the first weeks, and stop before the mouthpiece ring deepens or attacks deteriorate. Progress is the ability to reproduce a warm phrase tomorrow, not the number of minutes endured today.
Step 12: Maintain the Piston and Slide System
Drain condensation through the water keys, remove the mouthpiece, and wipe hand contact from the finish. Oil pistons with the product recommended for the valve system, keeping each numbered piston in its own casing and aligning its guide before pressing the cap down.
Move tuning slides only while the related valve is depressed so trapped pressure does not stress the instrument. Compensating tubing and valve assemblies are easy to reassemble incorrectly; follow the maker’s cleaning directions and use a technician for uncertain work. Store the horn on its shaped case supports with every latch closed.
Common Problems Have Specific Causes
An airy tone often comes from an unfocused buzz, a mouthpiece leak, or air that never becomes steady. Cracked attacks may reflect a tense tongue or delayed air. Slow valves require cleaning, correct oil, and proper alignment, not harder finger pressure. Pain is never a normal milestone. Record a few measures once a week from across the room. Listen for a consistent start, stable middle, and intentional release. Improvement heard over several recordings is more meaningful than one lucky high note. Bring persistent mechanical or physical problems to a teacher promptly.
Your First Week Should End With a Singing Phrase
Spend the first two days making the instrument comfortable in the lap and centering one open resonance. Add paired valve changes on day three, a gentle open slur on day four, and connected articulation on day five. On day six, choose a short tune that stays within those notes; on day seven, record the whole phrase without stopping.
Listen for an even core through the valve changes and a breath that carries to the end. The recording matters more than a checklist because it reveals whether separate mechanics have become music. Keep the phrase as a weekly baseline while range and reading expand.
Develop the Ear Alongside the Embouchure
Before playing a short exercise, sing its first note and rhythm in a comfortable voice. The singing does not need to be polished; it gives the mind a target before the lips move. After playing, sing again and notice whether the musical shape survived the physical effort. This simple sequence prevents fingering from becoming the only definition of accuracy. Use call-and-response with a teacher, piano, or clear reference recording. Copy two or three notes at first, matching their length and direction rather than obsessing over absolute perfection. Once the pattern is familiar, play it from memory in another comfortable key or on a different valve combination. Ear training turns the euphonium from a machine that produces fingerings into an instrument that follows an imagined sound.
Practice Dynamics Without Distorting the Tone
Beginners often equate loud playing with blowing harder and soft playing with withholding air. Both approaches destabilize the note. For a crescendo, keep the mouth cavity open and let the air stream gain energy gradually while the embouchure preserves its shape. For a diminuendo, maintain direction in the air even as the volume falls. The quiet endpoint should still have a center.
Try an eight-count long tone that grows for four counts and relaxes for four. Stay in the middle register and stop before the face becomes rigid. Record the exercise from several feet away; the change should sound continuous rather than like two separate notes. Dynamic control learned on easy pitches later supports expressive phrases and confident ensemble entrances.
Prepare for Playing With Other Musicians
Individual practice allows a player to pause whenever something goes wrong. Ensemble music continues. Build readiness by using a metronome count-off, taking the breath in time, and entering without an extra delay. Keep counting through rests and release notes on the correct beat. These habits make a beginner dependable even before the range becomes large. In rehearsal, listen down toward tubas for pitch foundation and across toward trombones or horns for articulation and note length. Do not chase every nearby pitch fluctuation. Establish a centered personal sound, then make small adjustments with the group. Mark breathing places and difficult valve combinations in pencil so the next repetition improves. Quiet preparation between attempts is part of playing well. A teacher should hear the student regularly during this first stage. Small corrections to mouthpiece placement, instrument angle, breathing, or hand position are easiest to make before they become automatic. Bring questions and the practice notebook to each lesson. Consistent guidance keeps experimentation healthy and prevents discomfort from being mistaken for necessary effort.