Let the Flugelhorn Teach You to Listen Before You Push
The flugelhorn rewards a player who begins with a clear sound in mind. Its broad conical tubing and deep mouthpiece can produce a warm, intimate voice, but forcing that warmth usually creates unstable pitch and a woolly attack. A beginner should first establish comfortable posture, an uncompressed breath, and a centered middle-register note. From there, fingerings may feel familiar to a trumpet player, yet response, intonation, articulation, and phrasing require their own attention. The instrument becomes expressive when air continues through every note and the player listens to the whole phrase rather than chasing isolated effects.
A: Some fit physically, but a correct flugelhorn mouthpiece usually supports the intended response and color.
A: Check the seal, lip center, air continuity, and whether an overly deep setup exceeds current control.
A: No. Choose a syllable that gives the phrase clear beginnings at the required style and dynamic.
A: Use it for demonstrated sharp tendencies, not automatically on every note involving third valve.
A: Maintain directed air and a stable embouchure while reducing volume gradually.
A: Different resistance, mouthpiece depth, and slotting require a reset rather than the same physical approach.
A: Fifteen to twenty focused minutes with rests can be productive before endurance develops.
A: No. The sound still needs pitch center, articulation, and a core that reaches listeners.
A: It shares fingerings and range, but projection, color, and stylistic function differ.
A: Begin with comfortable breathing and centered middle-register tones before technical or range work.
Meet the Instrument at Rest
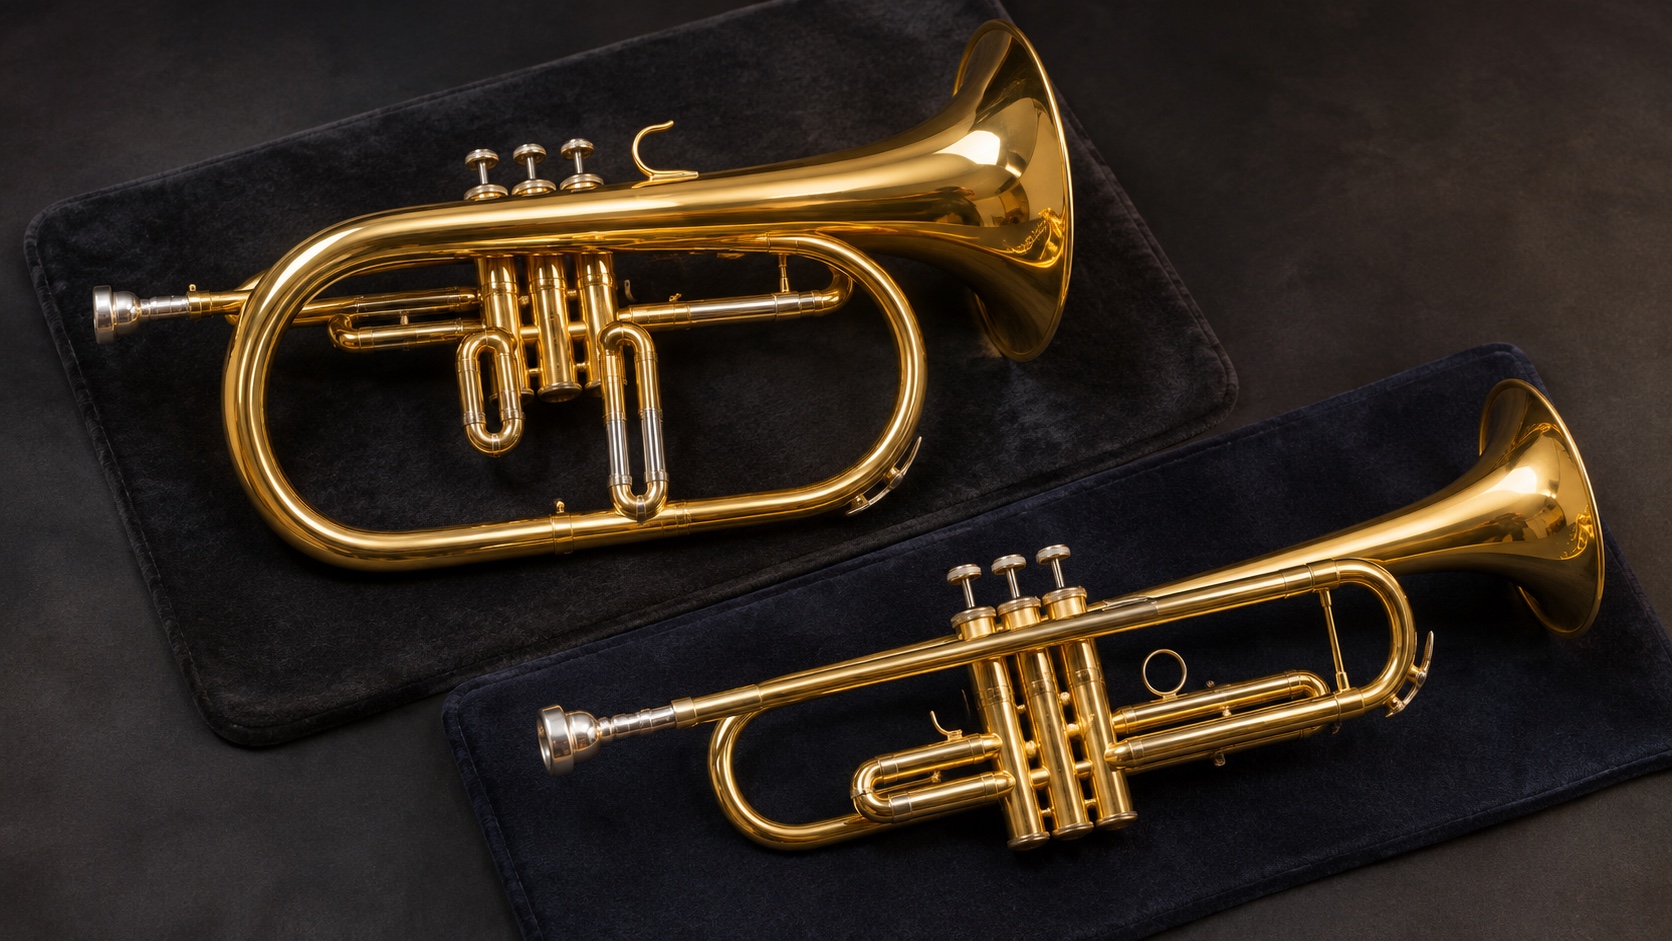
Identify the bell, mouthpiece receiver, leadpipe, three valves, tuning slides, water keys, and third-valve trigger or ring. Hold the flugelhorn by secure body tubing, never by a slide or valve button. Open the case on a stable surface and notice how the instrument is supported before removing it. Check that valves move freely and slides are seated correctly. Insert the proper flugelhorn mouthpiece with a gentle twist. A trumpet mouthpiece may fit some receivers but usually changes response and defeats the intended sound; use the maker’s or teacher’s recommendation.
Find a Balanced Playing Position
Sit near the front of a firm chair with both feet grounded, or stand with weight distributed evenly. Lengthen the spine without lifting the chest. Bring the instrument toward the face so the head remains neutral and the shoulders stay low.
Let the left hand support the body without squeezing. Curve the right fingers over the buttons and keep the little finger relaxed rather than hooked rigidly. The bell can angle slightly downward, but the wrist, neck, and breathing space should determine the comfortable position.
Shape the Breath for a Rounded Tone
Exhale normally, then inhale silently through an open mouth. Feel expansion around the lower ribs and back. Begin the outgoing air immediately instead of holding it behind a closed throat. Imagine warm air fogging a window rather than a narrow jet aimed across a room. Practice four counts in and eight counts out away from the instrument. The stream should remain continuous to the end. Stop if repeated deep breaths cause dizziness. Musical breathing matches the phrase; it is not a contest to fill the lungs beyond comfort.
Set the Embouchure Without Manufacturing Darkness
Bring the lips together naturally, stabilize the corners, and leave the center responsive. Place the mouthpiece comfortably near center according to individual anatomy. The jaw remains released and the teeth stay separated enough for air to pass without a hiss.
Buzz an easy pitch briefly, using air instead of pressure. Do not loosen the lips to imitate a dark recording. A flabby embouchure produces uncertain attacks and pitch. Warmth comes from resonance, efficient vibration, and an open oral space while the tone retains a clear core.
Discover the Easiest Open Resonance
Take a calm breath, touch the tongue lightly behind the upper teeth, and release it as if saying “doo.” Allow an easy open note to speak. Hold it for four counts only while the sound remains steady, then release without cutting the air abruptly. If the note does not start, reset rather than adding pressure. If it cracks upward, reduce tension and stabilize air speed. Repeat a successful note three times with complete rests. Consistency in the middle register is the doorway to range.
Map the First Valve Changes
From a comfortable open note, use second valve for a half-step descent, first valve for a whole-step descent, and first plus second for the next half-step. Press each piston fully and vertically. Keep fingertips near the buttons so the hand stays quiet.
Play the four positions as slow whole notes while maintaining identical air. Listen for changes in color or resistance. A sluggish piston needs correct oil and alignment, not harder finger pressure. Ask a teacher before removing valves if their guides are unfamiliar.
Choose an Articulation That Fits the Voice
The flugelhorn often responds well to a gentler syllable than a brilliant trumpet attack. Whisper “doo” or “dah” through moving air and notice that the tongue releases the note rather than striking it. A clean beginning can still sound soft-edged. Play four quarter notes on one pitch, then connect them more closely without smearing their starts. Compare “too” and “doo” at the same dynamic. Keep whichever syllable serves the phrase, not a rule that every note must sound velvety.
Connect Notes Through the Air
Play two adjacent valve notes under one continuous breath. The fingers change at the exact moment the pitch changes; the air does not pause between them. Then try a two-note lip slur on an open fingering, allowing air speed and vowel shape to guide the shift.
Avoid scooping with the jaw or crushing the mouthpiece during upward motion. Rest before coordination deteriorates. Smooth connection should preserve the center of both notes, not hide an uncertain destination inside excessive softness.
Use the Third-Valve Slide With Purpose
Some low combinations tend sharp, especially first and third valves together. A trigger or ring lets the player lengthen the third-valve slide while the note sounds. Learn the motion on sustained notes before attempting it inside a moving phrase. Do not operate the slide automatically on every third-valve note. Instrument design, register, temperature, and musical context affect need. A tuner can reveal tendencies, but a teacher and sustained reference pitch help determine a musical correction.
Warm Up Before Tuning
Play easy middle notes for several minutes so the instrument and embouchure settle. Check a stable reference note at normal volume. If the flugelhorn is generally sharp, lengthen the main slide; if flat, shorten it. Move a small amount and retest.
Do not chase the display while the sound wavers. First establish repeatable tone, then observe patterns across several notes. The flugelhorn’s flexible response makes listening especially important in chords, where pitch must relate to harmony rather than only equal-tempered markings.
Build a Phrase Instead of a String of Notes
Sing a short melody before playing it. Mark the high point, choose a breath that does not interrupt the thought, and decide how the final note releases. On the instrument, let the air travel toward that high point while articulation stays subordinate to direction. Record from several feet away. Listen for continuity, pitch center, and whether soft attacks remain understandable. The sound behind the bell can seem darker than what reaches a listener, so distant playback offers a useful perspective.
Practice Soft Playing Without Losing Support
Begin at a comfortable medium-soft dynamic, then reduce volume while keeping air direction. The lips continue vibrating freely and the throat remains open. If pitch drops or the sound turns to air, return to the previous level and rebuild.
Try an eight-count tone that gently diminishes through the final four counts. End before the note collapses. Controlled softness grows gradually and should never depend on pressing the mouthpiece harder to hold the pitch together.
Expand Range From the Middle Outward
Use short lip-slur patterns and familiar scales to add neighboring notes above and below the secure register. Keep the same posture and tonal core. Range gained through squeezing will disappear under fatigue and may damage the lyrical quality being developed. Add only a few attempts at each edge, followed by easy notes. Low playing needs abundant air without a loose face; upper playing needs faster air without pinched corners. A teacher can identify whether a limitation comes from coordination, equipment, or an unrealistic pace.
Create a Twenty-Minute Routine
Begin with quiet breathing and easy long tones. Continue with lip slurs, slow valve patterns, and one scale. Spend the largest block on a short melody, first sung, then played slowly, then performed without interruption.
Reserve the final minutes for a contrasting articulation or dynamic exercise and finish on an easy resonant phrase. Write one observation for the next session. Stop before the lips become rigid; useful repetition depends on recovery.
Learn to Blend Without Disappearing
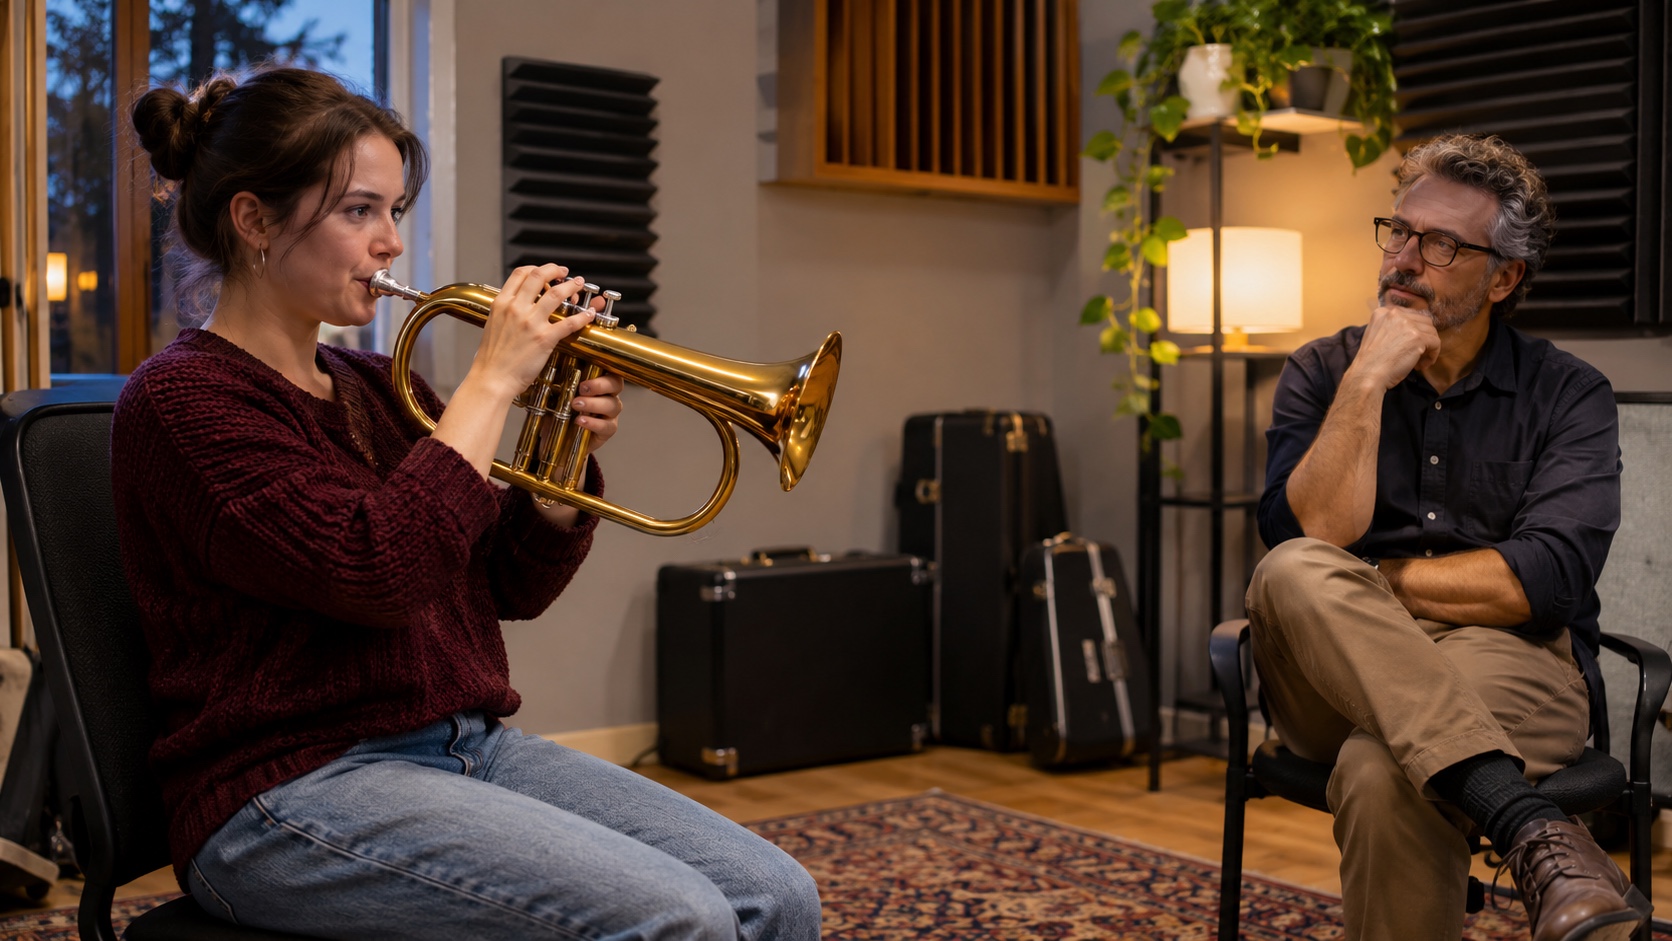
In jazz ensemble, brass band, or chamber music, listen for the role of the flugelhorn. Match pitch and note length while preserving enough core for the line to remain present. A warm sound should support the texture, not become undefined. When doubling from trumpet, reset mouthpiece feel, air concept, and dynamic expectation. Do not merely play trumpet with less volume. Give the flugelhorn a few middle-register notes before an entrance so its resistance and slotting feel familiar.
Care for the Instrument After Every Session
Release moisture through the water keys, remove the mouthpiece, and wipe fingerprints with a soft cloth. Return the flugelhorn to the correct supports in its case. Keep loose objects from striking its large bell or curved tubing.
Use approved valve oil and apply slide grease sparingly to clean slides. Follow manufacturer guidance for deeper cleaning, especially around triggers and linkages. Never use household polish on lacquer, and bring persistent mechanical problems to a technician.
Turn Common Problems Into Listening Tasks
An airy note invites a check of mouthpiece seal, centered buzz, and steady air. A blunt attack suggests that the tongue moved before the breath. Unclear valve passages call for slower coordination, while sagging endings reveal that phrase energy stopped early. Diagnose one feature at a time. Use a simple melody as the test after technical repair. If the correction cannot survive musical context, reduce the tempo or shorten the phrase. The objective is not a perfect exercise but a dependable expressive habit.
Your First Week of Flugelhorn Practice
Spend the first day on handling, posture, and one open note. Add valve changes on day two and gentle articulation on day three. Day four connects notes; day five introduces tuning and the third slide. On day six, shape a recorded melody. Day seven repeats the weakest skill and performs the melody again.
Progress may be quieter than on a more brilliant instrument, but it is measurable. Look for cleaner starts, longer centered phrases, easier recovery after breaths, and less physical effort. Those gains form the basis of the flugelhorn’s characteristic ease.
Use a Metronome Without Flattening the Music
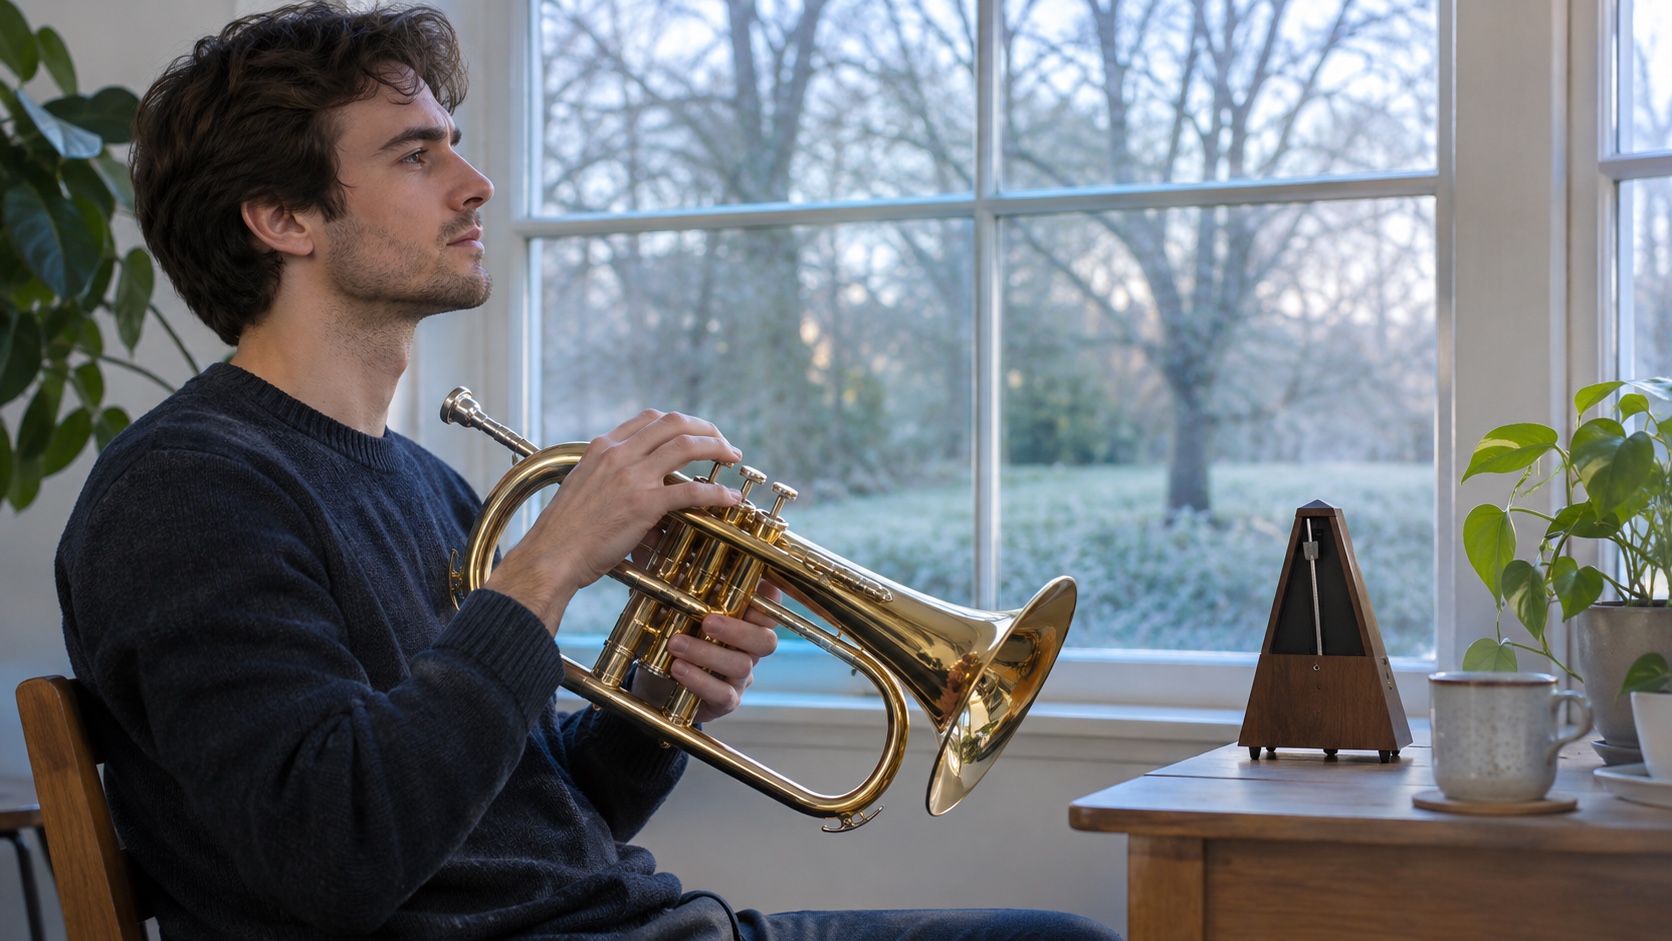
Set a slow pulse and hear one full measure before entering. Place attacks precisely, but keep the air moving toward the phrase destination. If the melody becomes mechanical, alternate one repetition with the click and one without it, preserving the same internal tempo. Practice difficult valve changes as rhythms instead of racing through them. Lengthen one note, then the other, and finally restore the printed values. Rhythmic variation exposes uncertain coordination while the musical phrase remains the final test.
Prepare the First Ensemble Entrance
Count the rest subdivision, watch the conductor, and inhale within tempo. Imagine the pitch before the tongue releases it. A secure entrance begins before the sound, so avoid a last-second breath that lifts the shoulders and tightens the throat.
After entering, listen sideways for articulation and downward for harmonic support. Adjust without abandoning the personal tone center. When the phrase ends, release with the group and keep the instrument still; a physical collapse can shorten the sound before the conductor’s gesture. Patient listening turns these small daily choices into a personal flugelhorn voice that remains warm, accurate, flexible, and unmistakably alive.