Learn the Carrying System Before You Chase the Sound
A beginner’s first sousaphone lesson should start with safe assembly and fit, because the instrument becomes part of the player’s moving body. Once the bell, leadpipe, bits, and shoulder position are secure, the musical fundamentals resemble other low brass: relaxed breath, a centered buzz, complete valve strokes, and steady time. The goal is not to overpower the field. It is to produce a clear bass tone while standing and moving without clamping the mouthpiece, twisting the back, or letting the bell wander. Good setup makes every later skill easier.
A: Most standard designs rest on the left shoulder, but follow the instrument and program setup.
A: Choose the lightest program-supported model that fits, responds well, and remains stable.
A: Some music work is possible, but fit and movement skills require supervised standing practice.
A: Upper-body bounce, poor fit, or unstable balance may be transferring motion into the face.
A: Use the director's specified angle so the section projects and looks consistent.
A: Use a centered supported tone; forcing volume usually reduces clarity.
A: Warm up first, establish a centered sound, then tune together from the listening position the director chooses.
A: Mild awareness can occur, but sharp pain, numbness, or restricted breathing is not acceptable.
A: No. Stabilize sturdy body tubing and protect the valve section.
A: Remove moisture, dry components, inspect the horn, and avoid sealing it wet in storage.
Inspect the Parts Before Assembly
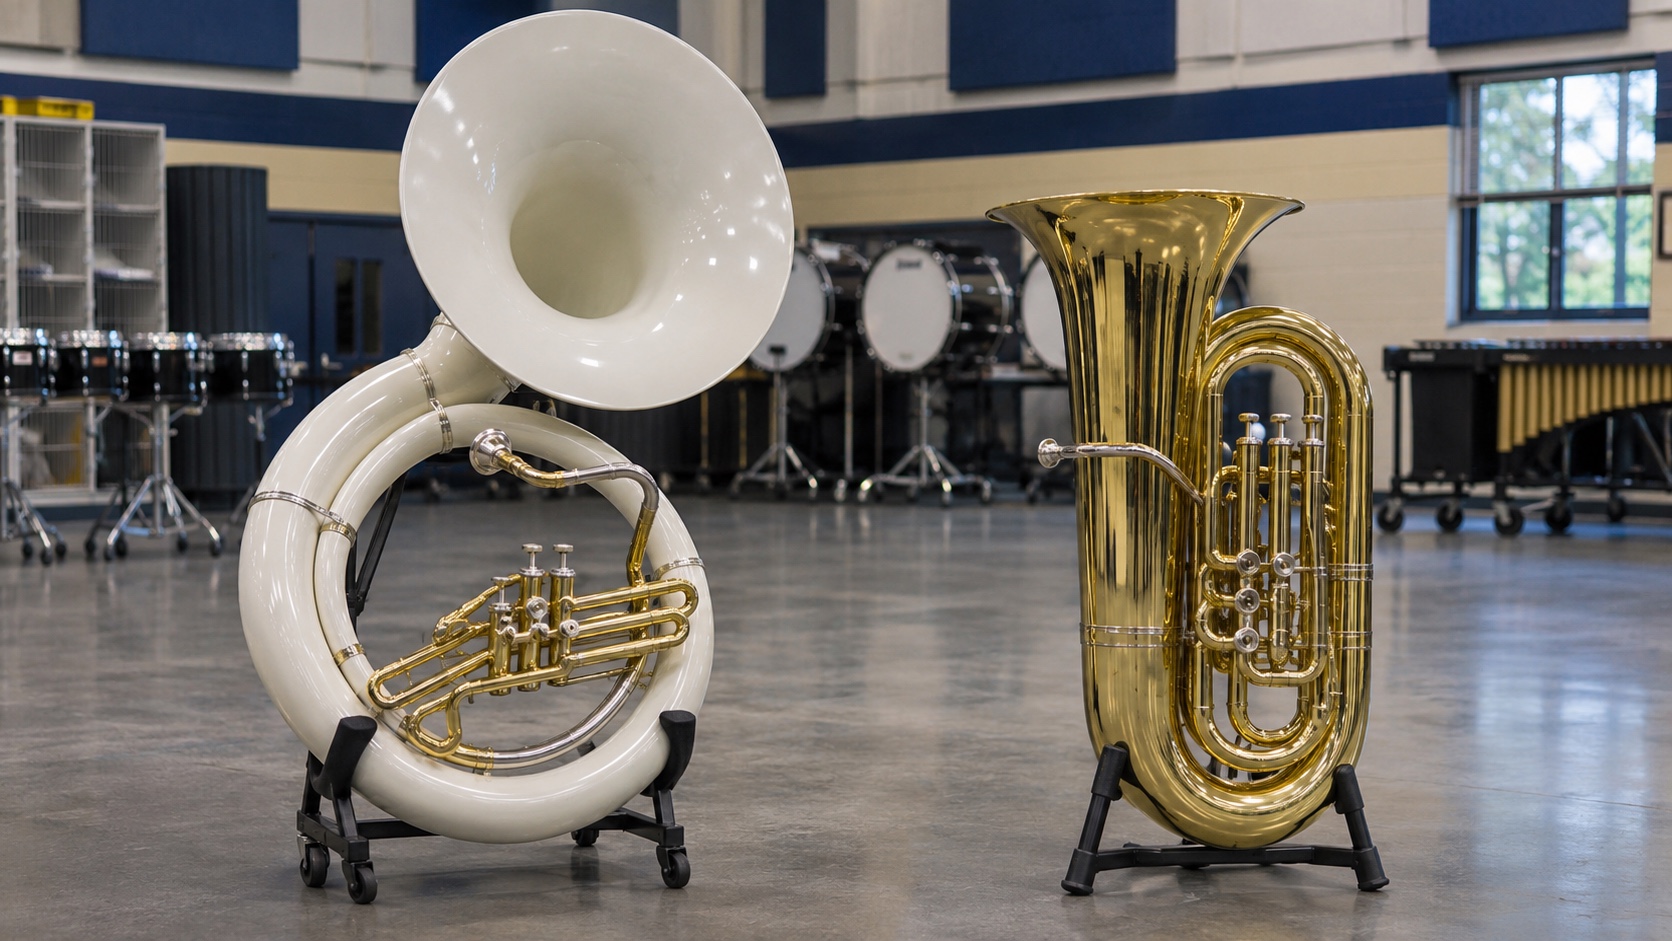
Place the case or storage rack where the body can be lifted without striking another instrument. Identify the circular body, detachable bell, leadpipe, tuning bits, valves, slides, water keys, and locking hardware. Ask the director which surfaces are safe to hold. Look for loose braces, missing screws, cracks, sharp edges, and valves that do not return. Report damage before rehearsal. Never force a bell collar or leadpipe connection; misaligned hardware becomes more expensive when pressure is added.
Attach the Bell With Help
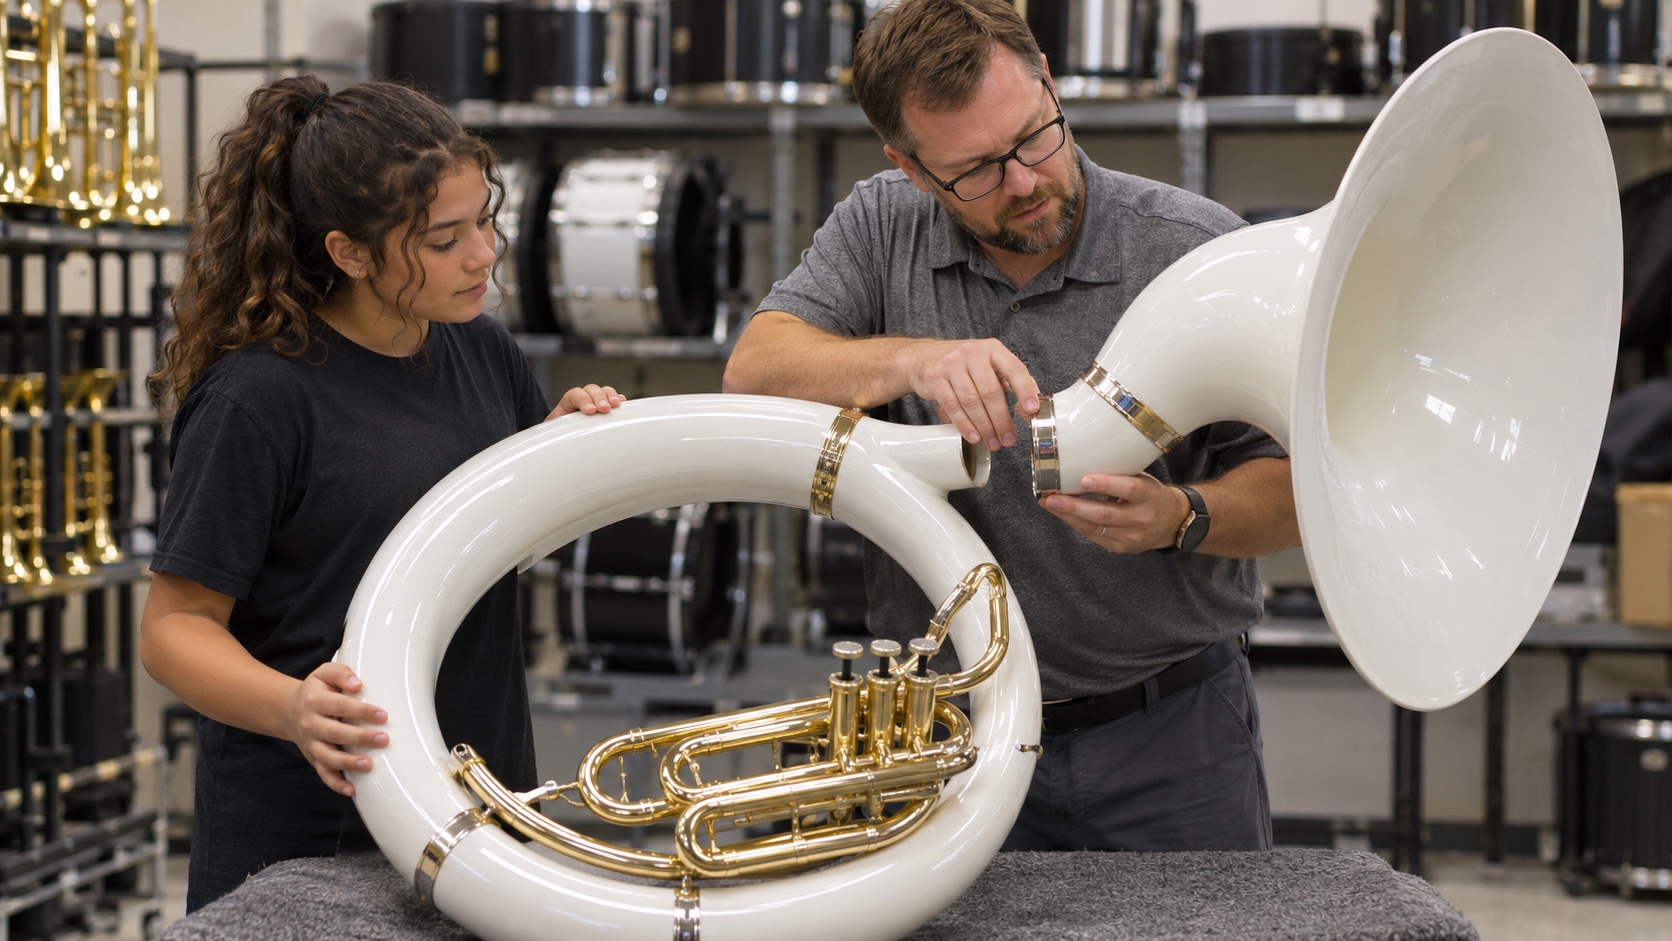
Set the body on a padded stable surface or use the program’s approved assembly method. Lift the bell with two hands, align the collar, and seat it evenly. Tighten the fasteners only enough to keep the bell secure.
Rotate the bell to the director’s standard angle so the section projects consistently. A beginner should have a partner or staff member assist until the motion is controlled. Do not lift the completed instrument by the bell rim.
Fit the Leadpipe and Bits
Assemble the bits in the prescribed order and bring the mouthpiece toward the player rather than moving the head toward it. Small changes in rotation alter height and distance. Keep every connection secure without overtightening. The mouthpiece should meet a neutral face while the player stands tall. If the neck reaches forward or the torso twists, stop and refit. Remove and dry the bits after playing so they do not seize together.
Place the Instrument Around the Body
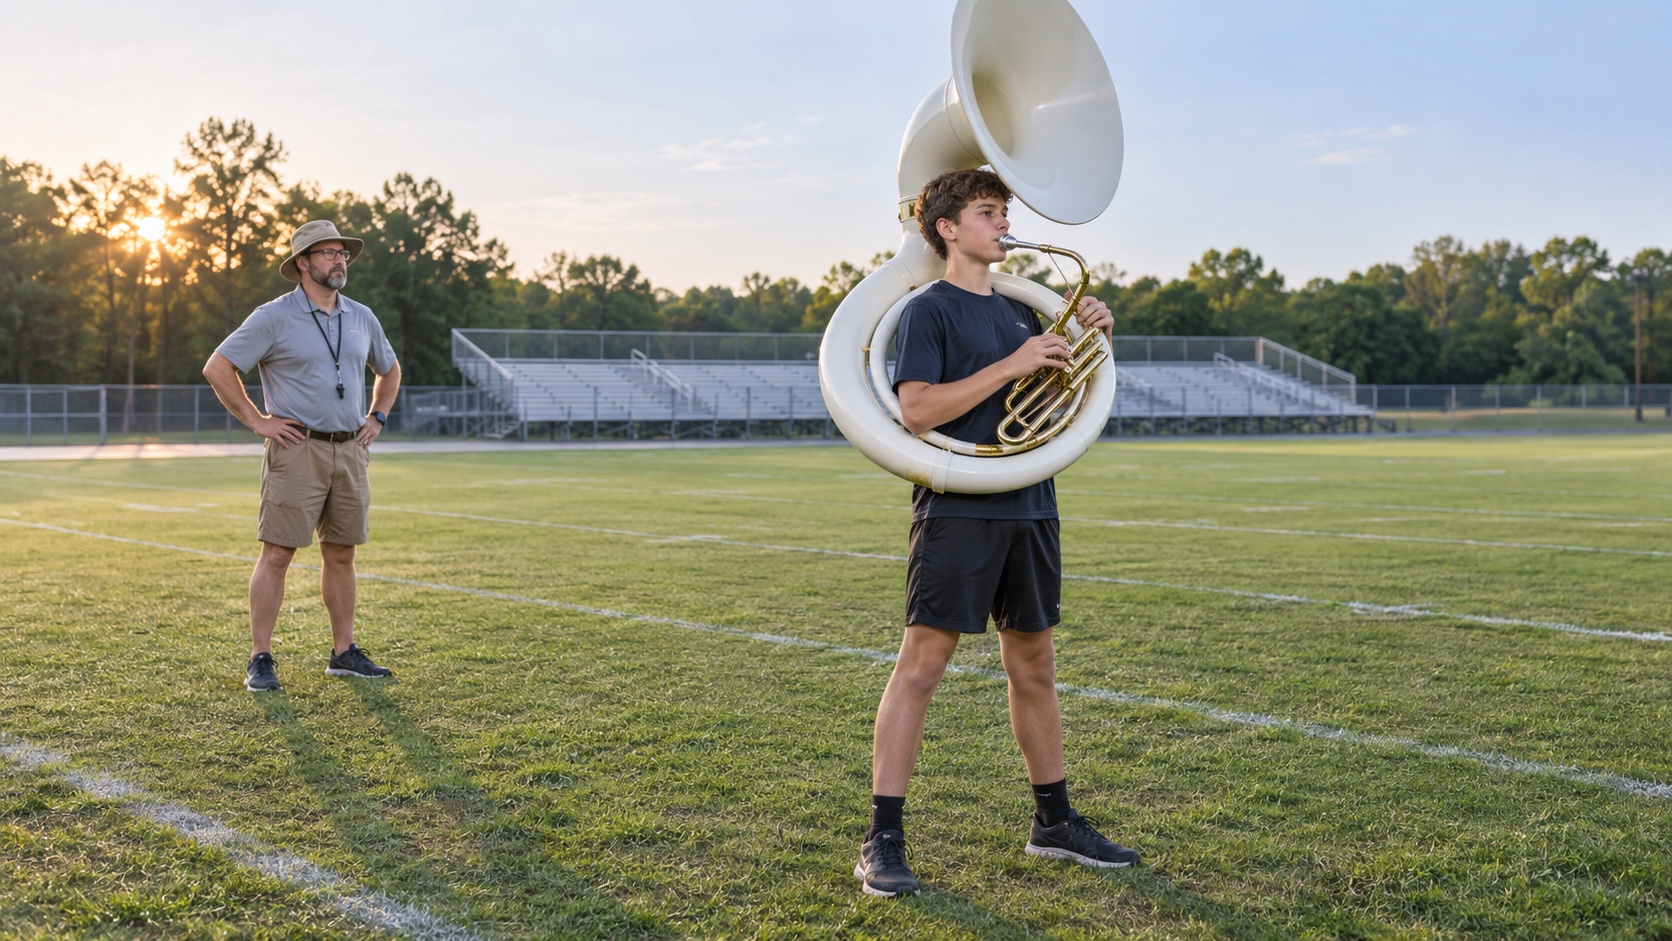
Lift with assistance, guide the circular branch over the head, and settle the contact point on the shoulder. The body should surround the torso without crushing the ribs or limiting a full breath. Keep the bell clear of hats, doors, and nearby players.
Approved padding can spread pressure but must not make the instrument unstable. Sharp pain, tingling, numbness, or restricted breathing requires immediate adjustment. Endurance never develops safely through nerve pressure.
Set the Hands and Standing Posture
Balance weight through both feet with knees unlocked. The spine stays tall while the shoulders remain level. The left hand stabilizes a sturdy branch; the right fingers curve over the valve buttons without using the valve section as a handle. Check the position in a mirror from front and side. The player should be able to look forward and turn the head normally. Recheck after several minutes because the instrument can settle as the shoulder tires.
Build the Air Stream Away From the Horn
Exhale normally, then inhale silently through an open mouth. Let the lower ribs and back expand. Release a smooth stream for eight counts without raising the shoulders or locking the throat.
Repeat only a few times before playing. Sousaphone needs generous air, but repeated maximum breaths can cause dizziness. Efficient breathing means matching the breath to the phrase, not filling to discomfort before every note.
Create a Centered First Buzz
Bring the lips together as if saying “mmm,” keep the corners stable, and allow the center to vibrate. Place the mouthpiece without pressing it into the face. Use a calm breath to buzz an easy low-brass pitch for one or two seconds. An airy or broken buzz is normal at first. Rest, reset, and try again rather than squeezing. The lips need room to vibrate; pressure may create a sound temporarily but makes marching contact unsafe.
Center the First Note While Wearing the Instrument
Make the first sound only after the shoulder contact, leadpipe, and bits are stable. With no valves pressed, mark time silently for four counts, inhale on the next count, and release one comfortable open resonance without letting the bell dip. The sound and carrying posture must succeed together.
If the pitch jumps or the mouthpiece shifts, stop and refit before repeating. A note produced by clamping the horn to the face is not a usable first note for marching. Aim for three clean entrances while the feet and upper body remain independent.
Link Valve Changes to Marching-Band Bass Motion
Learn second, first, and first-plus-second as descending tubing lengths, then place them inside a simple root-and-fifth bass figure. Keep the right fingertips close to the buttons while the left hand stabilizes the circular body, not the valve casing. Practice the figure standing still, then while marking time. The piston must reach the bottom before the beat without the torso twisting toward the hand. This tests the actual sousaphone task more directly than a row of isolated whole notes.
Shape Attacks That Reach the Sideline Together
A sousaphone section needs one collective front to the note. Practice a breath timed to the conductor’s count, a compact tongue release, and a full-length sustain that ends with the feet still moving. Listen across the section rather than judging the attack from behind the bell.
Record from the sideline. If an entrance sounds late or explosive, check whether the breath arrived during the step, the mouthpiece bounced, or the tongue tried to create volume. Correct the coordination before increasing outdoor dynamic.
Tune After the Instrument Warms
Play for several minutes before judging the main tuning slide. Sustain a familiar note at normal volume. Lengthen the slide for an instrument that is generally sharp and shorten it when generally flat. Temperature, tension, and unstable tone can mislead a tuner. Make small adjustments and listen with the section. Individual valve combinations may need alternate fingerings or slide habits taught by the director.
Mark Time Before Traveling
Stand in position and mark time at a moderate tempo without playing. Keep the upper body quiet while the feet move. Add a four-count breath and one sustained note, watching that the bell remains steady.
Next, play four quarter notes while marking time. The mouthpiece should not bounce against the lips. If it does, reduce motion, refit the horn, and rebuild at a slower tempo.
Take the First Forward Steps
Practice eight counts forward with the instrument balanced but silent. Roll through the feet according to the program’s technique and maintain spacing. Then add a simple sustained note. Breathing must fit the drill. Plan the inhale before the entrance instead of gasping after movement begins. Finish the phrase, halt cleanly, and release without letting the bell dip.
Coordinate Turns and Direction Changes
Learn the feet without sound, then add the instrument, and only then add music. Keep the torso and bell aligned with the visual requirement. Avoid steering the turn by pulling on the valve section.
Use short repetitions with complete resets. A clean four-count direction change is more valuable than a long drill performed with collapsing posture. Ask a partner to watch bell angle from the front.
Build Endurance in Planned Blocks
Alternate brief playing periods with time on an approved stand or rest position. New players can learn drill without carrying during part of rehearsal. Fatigue that degrades posture also degrades tone and timing. Increase carrying time gradually across several weeks. General fitness helps, but it cannot correct poor fit. Tell the director about persistent discomfort before an injury develops.
Match the Section Instead of Competing
Listen for one shared attack, pitch center, note length, and release. A loud unfocused note may carry less clearly than a supported centered one. Aim bells consistently so the section speaks as a unit.
Record from the sideline rather than judging behind the bell. Outdoor distance changes the balance a player hears. Use the recording to adjust clarity and timing, not to reward whoever sounds largest nearby.
Finish With a Reliable Care Routine
Empty moisture, wipe contact areas, remove and dry the bits, and return the horn to its numbered storage location. Detach the bell using the approved method and protect it from being stacked beneath other equipment. Oil valves and grease clean slides with products approved by the maker or technician. Dry a wet instrument before closing the case. Report new damage while the circumstances are still clear.
Use a Fit–Sound–Motion Progression During the First Week
On the first two days, repeat assembly and leadpipe fitting until the horn settles without neck reach. Next add one centered bass note and a simple valve figure while standing. Only after those remain stable should the student mark time, travel eight counts, and attach the phrase to a halt.
End the week by performing the complete sequence for the director: lift, fit, breathe, play, move, halt, release, and rest. Record which link fails first. This progression treats the sousaphone as a wearable marching system rather than copying a seated brass practice schedule.
Prepare for Rehearsal Responsibility
Arrive early enough to assemble without rushing. Confirm the assigned instrument number, case location, and repair-reporting process. Bring valve oil and any approved pad, but do not share mouthpieces without proper sanitation. During rehearsal, count rests, watch the drum major, and mark breathing points. When something fails, step out safely rather than repairing hardware inside moving drill. Reliable judgment is part of musicianship.
Read the Music Without Losing the Field
Memorization is common in marching band, but it should grow from accurate reading rather than guesswork. Learn rhythm and notes away from the drill, mark breaths, and divide long phrases into logical units. Play each unit with a metronome before connecting it to movement. Secure music lets the eyes remain available for the drum major and spacing.
When a mistake occurs on the field, stay in step and reenter at a known landmark. Stopping mentally to repair one note can create several counts of visual and musical confusion. In sectional rehearsal, isolate the error afterward and identify whether it came from fingering, breath timing, memory, or feet.
Control Dynamics Across Distance
Outdoor sound loses some immediacy before it reaches the audience. That does not mean every phrase should be played at maximum volume. Use faster, well-supported air for stronger dynamics while keeping the throat open and tone centered. At softer levels, preserve direction in the air so the pitch does not sag. Practice crescendos on one comfortable note while marking time. Ask a listener at field distance whether the growth sounds continuous. The player behind the bell may hear mechanical noise and local reflections that never reach the stands, so distant feedback is essential.
Move From Beginner Exercises to Real Bass Lines
Early parts often alternate roots, fifths, and repeated rhythms. Treat each note as part of the ensemble’s pulse. Match bass-drum attacks when appropriate, listen to low brass for pitch, and release with the entire band. A simple line played with exact timing contributes more than extra notes delivered inconsistently.
As range expands, practice lip slurs and scales in short sets without the instrument on the shoulder for every repetition. Then transfer the skill to standing position. Separating tone development from carrying endurance allows both to improve without letting fatigue teach poor embouchure habits. Progress should be reviewed by a director who can see the full body and hear the sound from in front. Small corrections to leadpipe angle, shoulder placement, breath timing, and step size are easiest to make early. Safe repetition turns the sousaphone from an awkward object into a dependable musical voice.