Trombone Assembly Is Mostly About Safe Handling
Learning how to disassemble and reassemble a trombone is less about taking the instrument apart dramatically and more about handling a few delicate pieces in the right order. Most daily setup involves the slide section, bell section, tuning slide, mouthpiece, and case. Those parts are simple, but they are not rugged. A dropped slide, twisted brace, stuck mouthpiece, or forced tuning slide can turn a normal practice day into a repair visit. The goal is a calm routine: prepare a safe space, remove parts gently, keep pieces supported, and put everything back together without pressure or guessing.
A: Usually no. Assemble the main sections first, then insert the mouthpiece gently.
A: Only tight enough to hold securely without forcing or over-tightening.
A: Not without instruction from a teacher or technician.
A: Stop and use a proper mouthpiece puller through a teacher or repair shop.
A: It keeps the outer slide from slipping off during carrying or packing.
A: On a towel, padded bench, or inside the proper case channels.
A: No. Resistance means the cause should be diagnosed safely.
A: Watch for safe surfaces, slow handling, and correct packing habits.
A: Make sure every part is seated and no accessory is trapped under the horn.
A: When parts stick, connections feel crooked, or the slide moves poorly after assembly.
Know What Should Come Apart
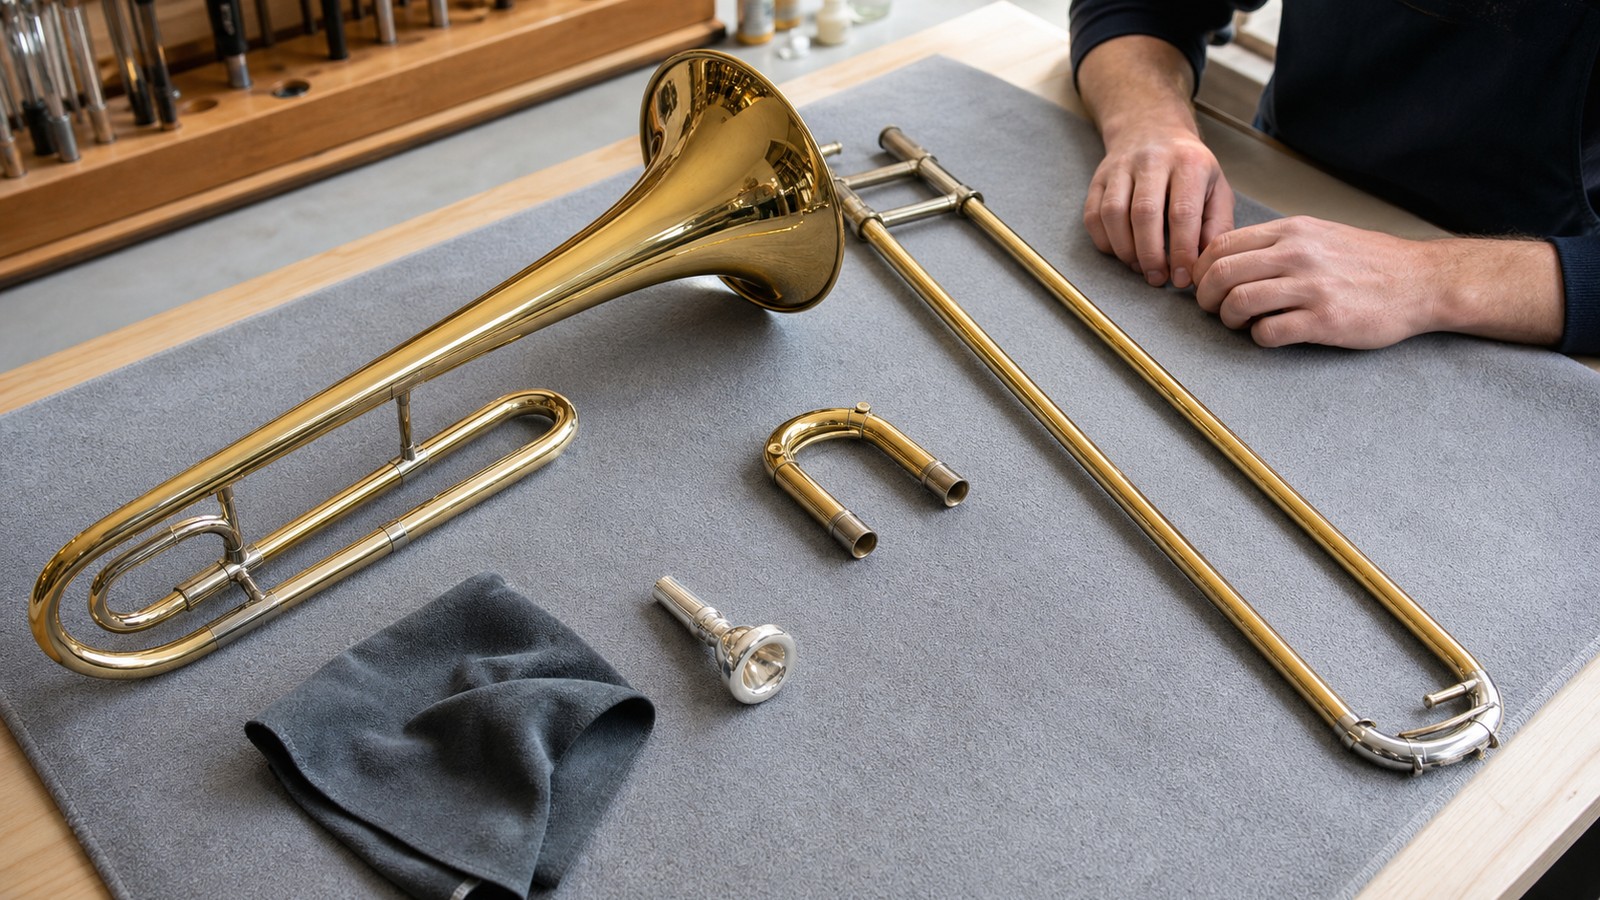
A standard tenor trombone usually separates into a slide section, bell section, tuning slide, and mouthpiece for normal handling. Some instruments also include an F attachment or additional valve tubing, but beginners should not treat every visible tube as something to remove. Daily disassembly is limited to the parts the player must pack, clean lightly, or adjust.
If a part resists movement, stop. Resistance may come from dried lubricant, dents, alignment problems, or a part that is not meant to be moved casually. The safest first rule is simple: parts should come apart with control, not force.
This mindset is more important than memorizing a complicated parts list. A trombone is durable enough for daily music-making, but the slide and connections are built around precision. Players who slow down around resistance usually save money, protect school instruments, and learn the kind of calm maintenance judgment that transfers to every brass instrument they handle later.
Prepare the Space Before Opening the Case
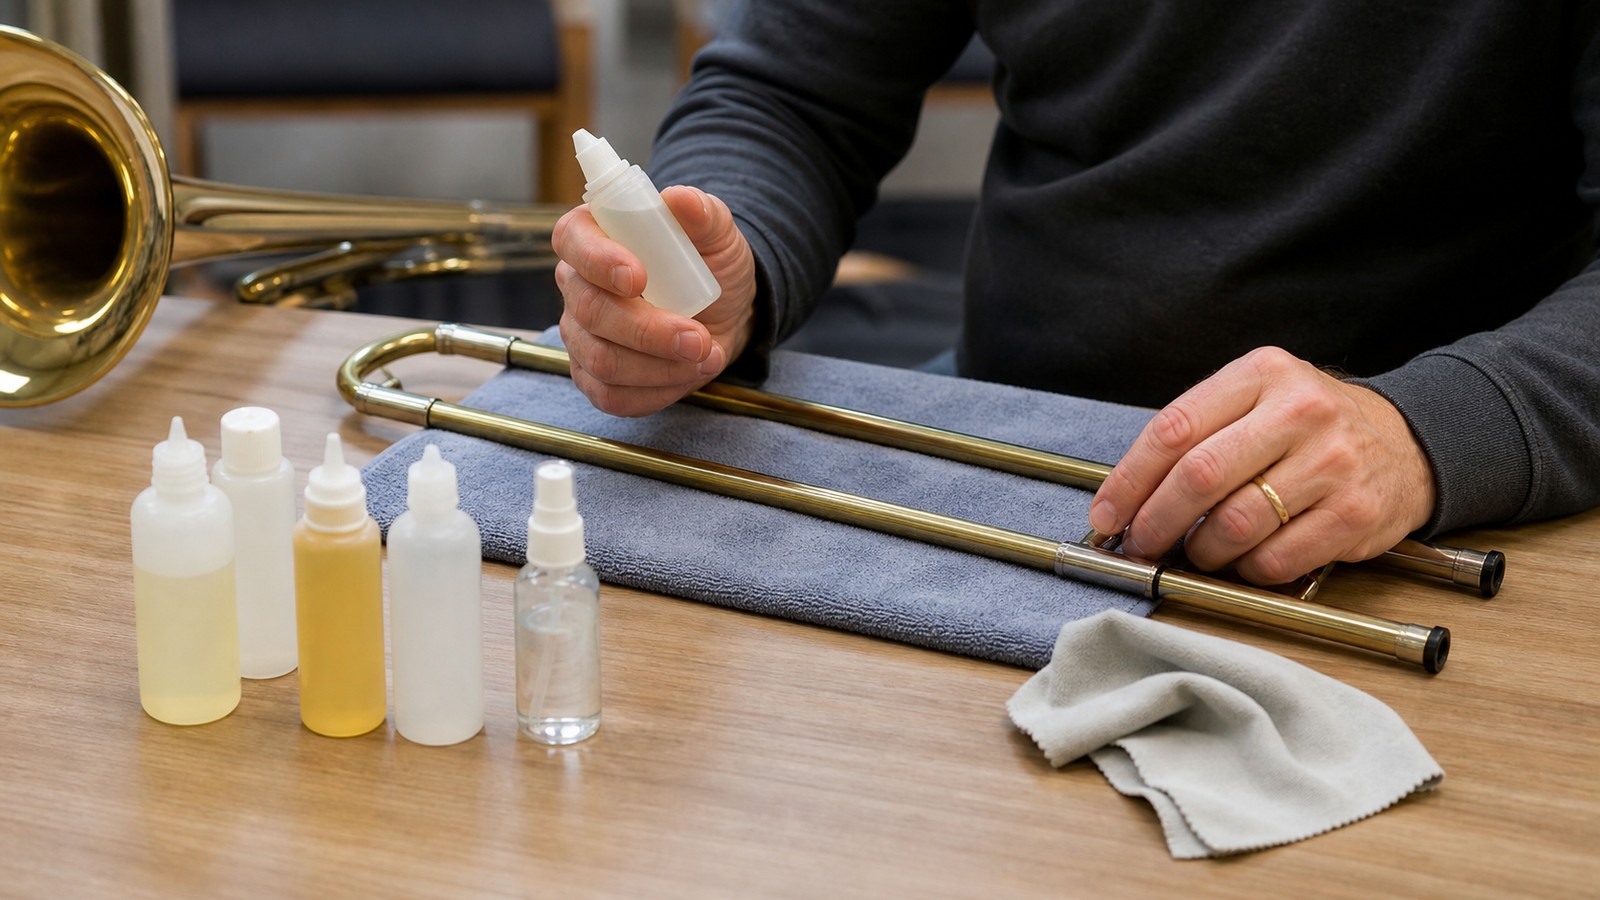
A trombone should not be assembled on a crowded floor, near a chair leg, beside a backpack, or at the edge of a table. Use a stable surface and make sure there is enough room for the long slide. A towel or padded bench helps protect finishes and gives small parts a place to rest without rolling.
Remove the Mouthpiece Gently
The mouthpiece should slide into the receiver with a gentle twist and come out the same way. Do not tap it in. Do not shove it. A mouthpiece that is hammered into place can stick, and stuck mouthpieces often require a proper puller from a repair shop or teacher.
When removing the mouthpiece, hold the brace or receiver area securely and twist lightly. Avoid yanking the mouthpiece sideways because that can stress the receiver. If it does not release, do not grab pliers or improvise with tools.
Place the mouthpiece on the towel or in its case pocket. It is small enough to roll off a table, and a dented shank can affect fit.
Separate the Slide and Bell Sections
To disassemble the main instrument, hold the bell section with one hand and the slide section with the other. Loosen the slide lock or connection collar carefully, then separate the two large sections without twisting them against each other. The goal is smooth separation, not speed.
The slide section deserves special respect. Its tubes must remain straight and parallel for easy movement. Never hold the slide by one tube while the other hangs unsupported. Support the full section so its weight does not flex the braces.
Use the Slide Lock Every Time
Before carrying the slide section away from the horn, lock it if the instrument has a slide lock. An unlocked outer slide can slip suddenly and hit the floor. Many preventable slide repairs begin with one casual step across the room.
Handle the Tuning Slide With Patience
The tuning slide adjusts pitch and may need occasional greasing, but it should not be pulled casually every time the horn is packed. If it moves freely, pull it straight and support nearby tubing. If it is stuck, treat it as a maintenance question rather than a strength test.
A tuning slide that moves too easily can also cause problems because it may fall out when the bell section is tilted. Check that it feels secure before packing the instrument. Smooth does not mean loose enough to surprise you.
Respect F Attachment Tubing
Trombones with an F attachment have extra valve tubing, linkages, and a trigger mechanism. These parts can look tempting to explore, but beginners should leave them assembled unless a teacher or technician has shown the correct care routine. Valve areas need lubrication and cleaning, yet they are not part of ordinary beginner disassembly.
If the trigger feels sluggish or noisy, ask for guidance. Randomly pulling slides around a valve section can create alignment or air-leak problems.
This is also where family-owned or school-owned instruments deserve extra caution. A student may not know the history of the valve section, and old grease or small dents can make parts behave unpredictably. Treat the attachment as a precise assembly until someone qualified explains what should move, what should stay in place, and what signs mean repair is needed.
Reassemble From Stable Pieces
When putting the trombone back together, start with the bell and slide sections on a safe surface or held securely. Bring the parts together straight. The connection should seat naturally without grinding or cross-threading. If the collar or nut does not engage easily, back off and realign the parts.
Once the sections are connected, tighten only enough to hold them securely. Over-tightening does not make the horn safer. It can make the next disassembly harder and encourage players to twist the instrument awkwardly.
Set the Bell and Slide Angle Carefully
The bell section and slide section need a comfortable playing angle before the connection is tightened. A poor angle can make the slide hand reach awkwardly or cause the bell to sit too close to the face. Beginners sometimes assemble the horn with the slide rotated slightly off because they are focused only on tightening the joint.
Check the playing position after assembly. The slide should move freely in front of the player, the bell should not bump the hand, and the mouthpiece should meet the face without twisting the body.
A mirror can help beginners see the relationship between the bell, slide, and shoulders. If the horn forces one elbow high, one wrist bent, or the head tilted forward, loosen the connection and reset the angle before playing. Good assembly should make balanced posture easier, not create a shape the body has to survive.
Insert the Mouthpiece Last
Put the mouthpiece in after the main sections are stable. A small gentle twist is enough. The mouthpiece should be secure, but it should not feel wedged. If a young player is tempted to tap the mouthpiece with the palm, correct that habit early.
At the end of playing, remove the mouthpiece before the instrument goes back in the case. This prevents case pressure from pushing it farther into the receiver.
Check the Slide Before Playing
After reassembly, unlock the slide and move it slowly through a comfortable range. It should glide without scraping, catching, or feeling crooked. Do not fling it to seventh position as a test. Gentle motion tells you more and protects the slide.
If the slide feels wrong immediately after assembly, check that the instrument is not being held at an odd angle. If it still feels wrong, look for dirt, dryness, or a physical issue before practicing.
This slow test is especially useful after travel. Cases can shift slightly, accessories can move, and a tired player can connect sections at an awkward angle without noticing. Taking ten seconds to test the slide gently is better than discovering the problem during the first entrance in rehearsal.
Pack in the Case With the Same Order
Cases are designed around specific parts. Put each section into its proper channel and make sure the slide is locked before closing the lid. Accessories should go into pockets or compartments, not loose against the instrument.
Before closing the case, look once more. A cloth, pencil, mouthpiece, or bottle sitting under the bell can dent the horn when the lid shuts. The final glance is one of the cheapest forms of instrument insurance.
Teach the Routine Slowly
Young trombonists need repetition more than a long lecture. Have them name each part, assemble slowly, disassemble slowly, and explain where their hands should support the weight. The goal is to make careful handling feel ordinary.
Parents can help by watching for rushing, unsafe surfaces, and loose accessories. They do not need to become repair experts. They only need to protect the habit until the student owns it.
A useful teaching approach is to practice assembly without playing at first. The student can open the case, name the parts, connect the sections, remove the mouthpiece, lock the slide, and repack the horn while someone watches calmly. Once the physical routine is dependable, adding music to the process feels much less chaotic.
Know When Not to Continue
Stop if a part will not move, a connection feels crooked, the mouthpiece is stuck, the slide hits a rough spot, or the case no longer closes easily. These are not moments for improvisation. They are moments to ask a teacher, band director, or repair technician.
The best assembly routine prevents drama. A trombone is built to come apart for normal use, but it rewards a player who treats every connection as precise.
Build Confidence Through Consistency
A confident player does not assemble the trombone quickly because they are careless. They assemble it smoothly because the order is familiar. Case open, safe space, slide lock, supported sections, gentle connection, mouthpiece last, final check. That routine becomes invisible after enough practice.
Once the handling routine is dependable, the player can focus on music instead of equipment anxiety. Good assembly protects the instrument, but it also gives the player a calmer start to every rehearsal.
The routine also makes problems easier to describe. A player who knows how the horn usually connects can say whether a collar felt rough, a tuning slide moved differently, or the slide lock failed to catch. That kind of detail helps teachers and technicians respond quickly, and it keeps small handling issues from becoming mysterious.
Recheck the Instrument After Moving Rooms
A trombone that was assembled correctly at home may still need a quick check after a bus ride, hallway walk, or crowded backstage setup. The slide lock may have shifted, the mouthpiece may be in a different pocket, or the case contents may have pressed against the horn. Before playing in a new room, confirm the connection, slide movement, mouthpiece fit, and case organization. This habit is simple, but it catches the kinds of small changes that make players feel unsettled right before rehearsal begins.
Make the Case Layout Part of the Lesson
Many assembly mistakes begin before the horn is even lifted. If the player does not know where each piece belongs in the case, they are more likely to balance parts on chairs, set the mouthpiece on the floor, or close the lid over something loose. Case layout should be taught as part of assembly, not treated as an afterthought.
A good case routine gives every part a home. The slide has a channel, the bell has support, the mouthpiece has a slot, and supplies have pockets. When those homes are used consistently, disassembly becomes safer and reassembly begins from organized pieces.