Correct Tuba Hold Protects Sound, Breath, and the Player's Body
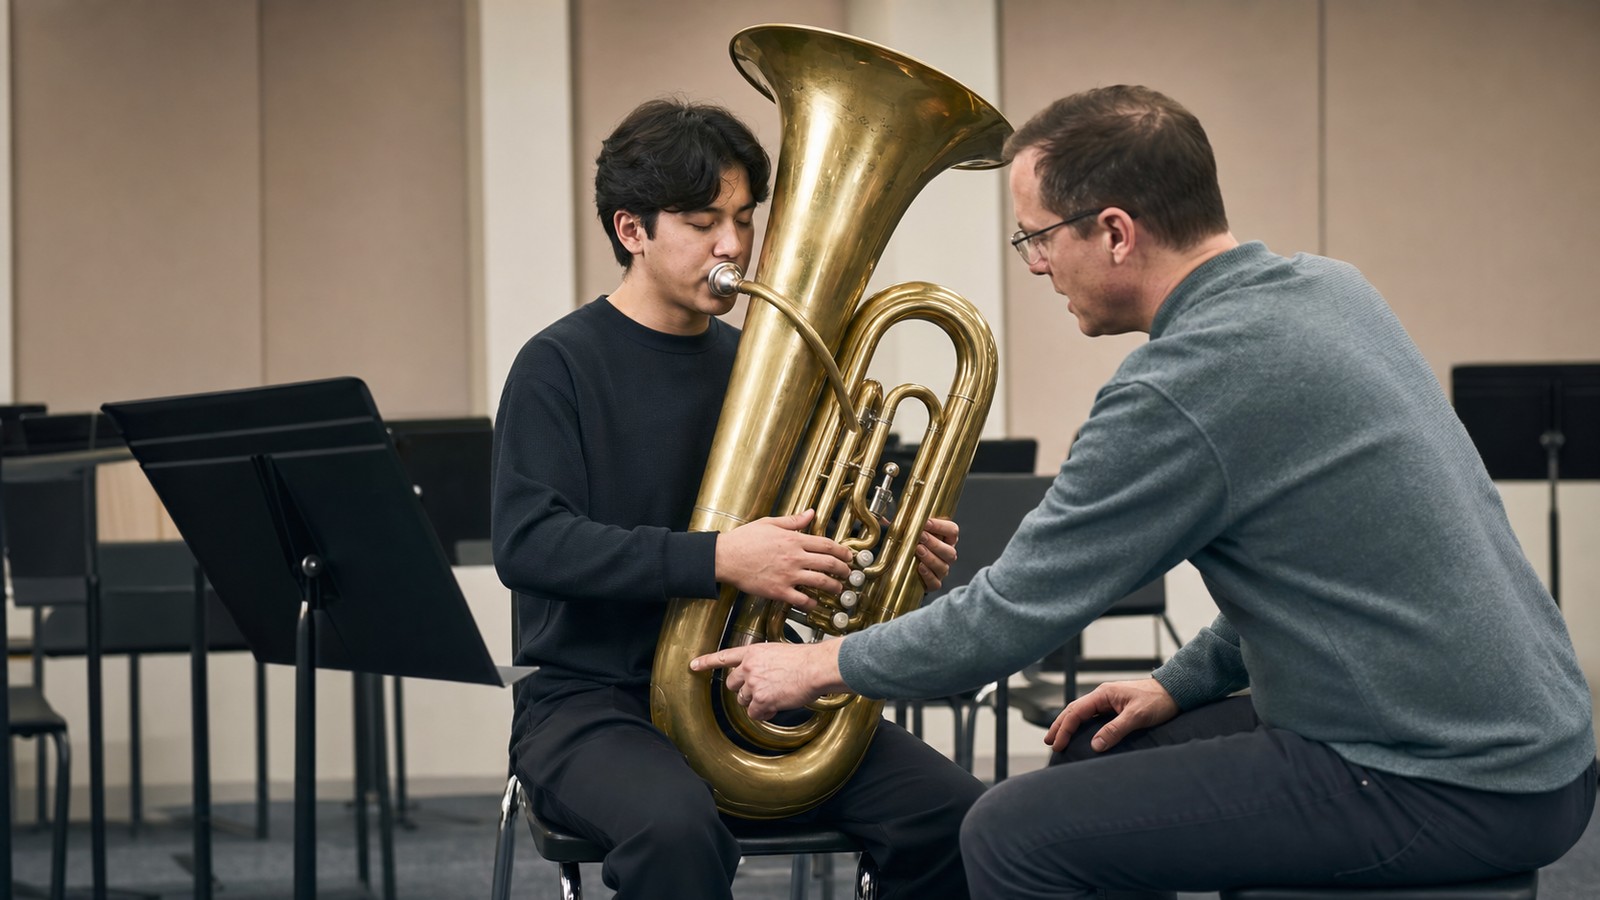
Learning how to hold the tuba correctly is a technique issue, not just a comfort issue. The instrument is large enough that poor positioning can change breathing, embouchure, valve hand shape, tone quality, and endurance. A good hold lets the tuba come to the player, keeps the body balanced, and makes both sitting and standing feel stable instead of awkward.
A: No. The mouthpiece touches the face, but the instrument's weight should be supported elsewhere.
A: Use a stable chair that lets both feet rest on the floor and keeps the torso open.
A: Yes. A support aid can make the instrument fit the player's body more safely.
A: Poor position restricts breathing, twists the face, and can make the valve hand tense.
A: They should stay soft and balanced, not locked or sagging.
A: The player may drop the head and collapse the chest, so the instrument height should be adjusted.
A: No. Marching and concert positions share goals but require separate balance habits.
A: They can watch for obvious twisting, strain, or complaints of pain and ask the teacher for guidance.
A: Yes. Silent setup checks help the body learn alignment before sound production.
A: The player can breathe freely, reach valves naturally, and repeat the setup comfortably.
The Instrument Should Meet the Player
The most important rule is simple: bring the tuba to the body instead of bending the body to the tuba. Beginners often lean forward, twist their neck, or collapse a shoulder just to reach the mouthpiece. Those small adjustments may seem harmless, but they quickly affect breathing and tone.
A correct hold keeps the mouthpiece at a natural height. The head can stay balanced, the spine can stay tall, and the arms can support the instrument without pulling the face into position.
Start With a Stable Chair
Sitting position depends on the chair as much as the player. A chair that is too low can make the tuba crowd the torso, while a chair that is too high can leave the feet unstable. The player should be able to sit forward enough for alert posture while keeping both feet grounded.
Seated Tuba Hold Needs Open Breathing
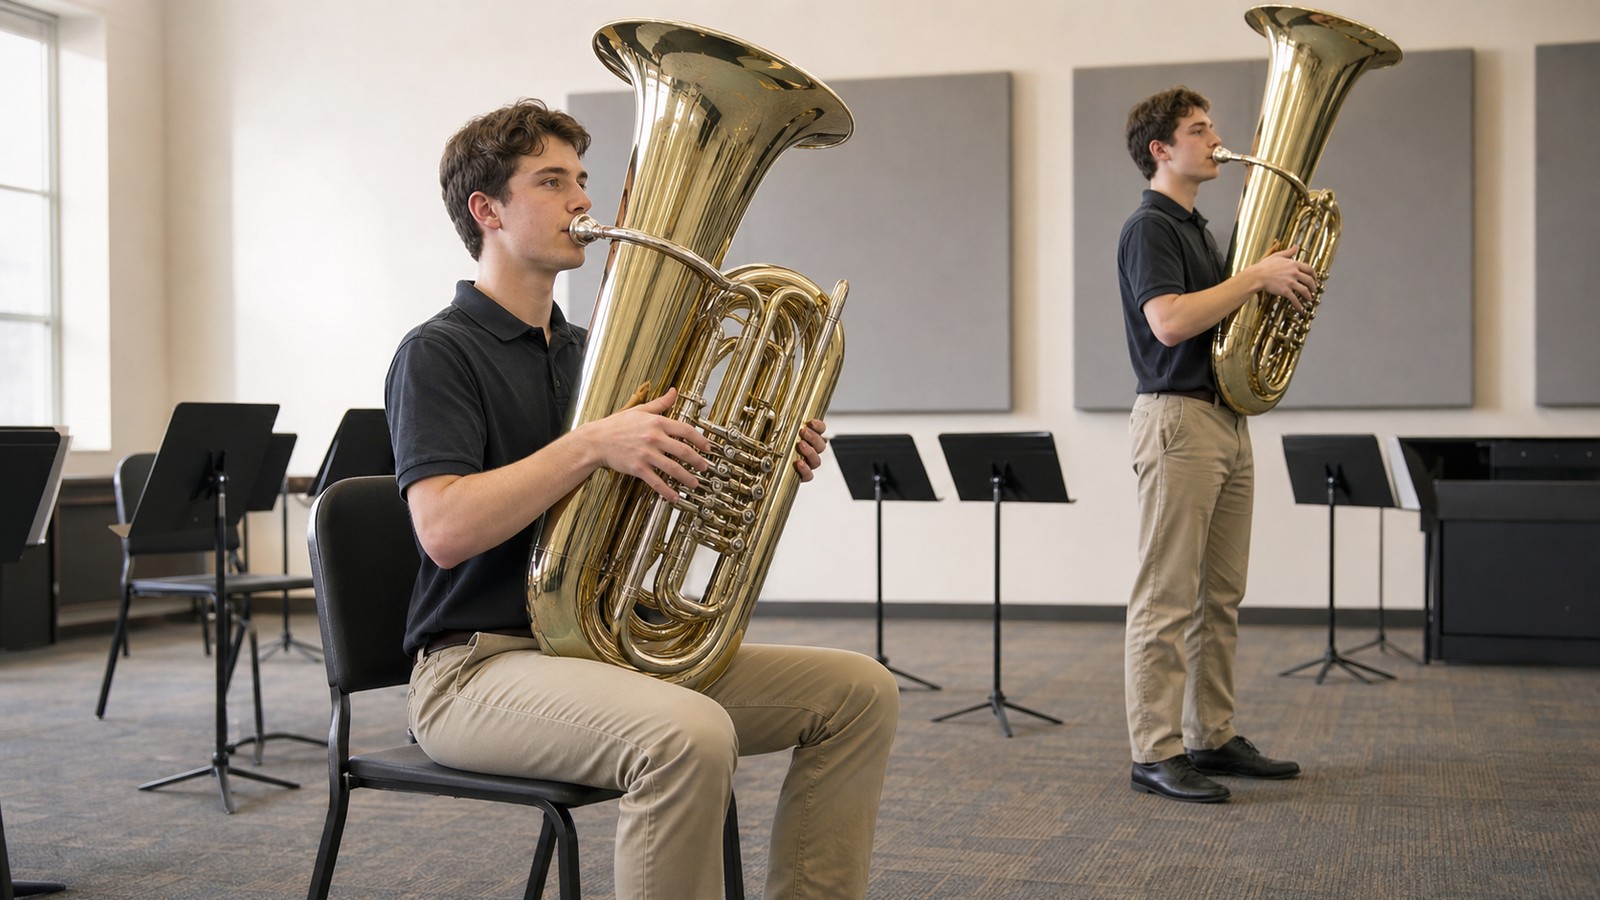
When seated, the torso should feel tall but not rigid. The tuba can rest on the chair, lap, or a support aid depending on the instrument size and player height. The goal is to keep the leadpipe and mouthpiece aligned without squeezing the ribs.
The right arm should reach the valves naturally. If the wrist is sharply bent or the elbow is trapped, valve motion becomes stiff and tone often follows. A relaxed valve hand helps the whole setup feel less forced.
The left hand usually helps steady the instrument rather than gripping with panic. A secure hold should feel balanced enough that the player can breathe freely before playing.
Do Not Let the Bell Decide Everything
A big upright bell can make students focus on how impressive the instrument looks, but the bell angle is not the main goal. Mouthpiece height, body balance, and hand access matter more. If the bell looks dramatic while the player is twisted, the setup is not working.
Directors should watch the student's body from the side and front. A correct hold usually looks calmer than a strained hold.
Mouthpiece Height Controls the Whole Setup
If the mouthpiece is too high, the player may lift the chin and tighten the throat. If it is too low, the player may drop the head and collapse the chest. Either direction can make tone production harder than it needs to be.
Use Support Aids When the Body Needs Them
Some students need a tuba stand, pad, cushion, or instrument support to reach the mouthpiece comfortably. Using one is not a weakness. It is a practical way to fit a large instrument to a real body, especially for younger or smaller players.
The support should stabilize the instrument without locking it into a position that fights breathing. A stand that is too high or too low can create new problems. Small adjustments often make a large difference.
Parents can help by noticing whether the student looks tense before playing. If the instrument setup seems to require effort just to hold, a teacher should check the fit.
Standing Requires a Different Balance Plan
Standing with a tuba is not just seated posture without a chair. The player must manage more weight through the feet, legs, back, arms, and support system. The body should feel centered, with weight balanced instead of locked into one hip.
A standing setup may use a strap, harness, sousaphone-style support, or a carefully balanced concert tuba position depending on the instrument. The exact approach changes, but the breathing goal stays the same.
Avoid Locking the Knees
Standing players sometimes lock their knees because the tuba feels heavy. That makes balance worse and can create tension through the lower back. Soft knees, grounded feet, and a tall spine help the player stay responsive while supporting the instrument.
The Valve Hand Should Stay Natural
Valve technique is easier when the hand rests in a natural curve. The fingers should move from a relaxed shape, not from a stretched or collapsed wrist. Poor holding position often shows up first as slow valves or uneven attacks.
A correct hold lets the player press valves straight down with minimal extra motion. If the wrist hurts, the elbow is trapped, or the fingers feel cramped, the instrument position probably needs adjusting.
Students should practice holding the tuba silently and moving the valves before adding sound. That short check can reveal setup issues early.
The Face Should Not Carry the Weight
The mouthpiece should never feel like the main anchor for the instrument. If the tuba pulls into the lips or the player presses forward to stabilize it, embouchure problems will follow. The hands, lap, chair, or support system should carry the instrument's weight.
A useful test is to breathe and set the mouthpiece gently. If the face feels pinned before the note starts, the hold needs attention.
Young Players Need Frequent Fit Checks
A student can grow quickly, change chairs, move between school and home instruments, or switch tubas. Any of those changes can affect posture. A setup that worked in September may not feel right later in the year.
Marching and Concert Holding Are Separate Skills
Concert tuba posture and marching low-brass posture are related, but they are not identical. A student who plays a concert tuba in band and a sousaphone or marching tuba outdoors needs separate instruction for each. The body has to learn different balance patterns.
Directors should avoid assuming that a strong seated player automatically knows how to carry the instrument while moving. Turning, marking time, and changing direction all affect breath and hand position.
Good marching hold protects the same fundamentals: clear air, secure balance, comfortable face contact, and efficient valve motion.
Practice the Hold Before Long Playing
Beginners benefit from short setup rehearsals. They can sit or stand, set the instrument, breathe, release, and reset without playing a note. This teaches the body what correct alignment feels like before tone production adds another demand.
Once the setup is stable, simple long tones can confirm whether the position supports sound. If tone improves immediately after a posture adjustment, the student has learned something concrete.
Watch for Pain and Numbness
A correct hold may feel tiring at first, but it should not cause sharp pain, numb fingers, tingling lips, or persistent back strain. Those symptoms suggest that the instrument is not fitting the player well or that too much weight is going through the wrong place.
Good Holding Builds Confidence
The tuba can intimidate new players simply because it is physically large. A comfortable hold reduces that intimidation. When the instrument feels secure, the student can focus on sound, rhythm, and music instead of wrestling with brass tubing.
Confidence also affects tone. A player who trusts the setup usually breathes more freely and starts notes with less hesitation.
That is why holding technique deserves real attention. It is the foundation that lets the rest of tuba playing feel possible.
Correct Hold Should Feel Repeatable
The final goal is a hold the player can repeat every day. Chair, body, instrument, mouthpiece, hands, and breath should settle into a familiar sequence. Once that sequence is reliable, sitting and standing become less stressful and the tuba begins to feel like an instrument rather than an obstacle.
Students should ask for help whenever the setup feels awkward after a change in instrument, chair, or ensemble role. Small corrections early can prevent months of unnecessary tension.
Home Practice Needs the Same Setup
Many students sit well in the band room and then practice at home in a chair that is too soft, too low, or angled toward a corner. That change can undo good habits. A home practice space should let the player sit tall, plant the feet, and place the stand where the eyes can read without twisting the tuba.
Music Stand Placement Matters
The stand should support posture instead of pulling the player out of position. If the music is too far to the side, the head turns and the mouthpiece angle changes. If the stand is too low, the player may drop the chin and close the chest.
Place the stand where the eyes can move naturally while the instrument stays balanced. This is especially important for young players who already have to manage a large horn.
Directors can solve many mysterious tone problems by adjusting the stand before correcting the embouchure.
Breathing Checks Confirm the Hold
A good hold should pass a simple breathing test. The player should take a full silent breath with the tuba in playing position and feel the ribs expand without the shoulders grabbing. If the breath feels blocked, the instrument may be crowding the torso or the player may be leaning into the mouthpiece.
This test is quick and honest. The body will usually reveal a poor setup before the first note exposes it.
Valve Access Should Stay Consistent
The valve hand should not change dramatically between easy notes, scales, and fast passages. If the player has to reposition the hand to move quickly, the initial hold probably placed the arm awkwardly. Consistent access lets technique develop without unnecessary tension.
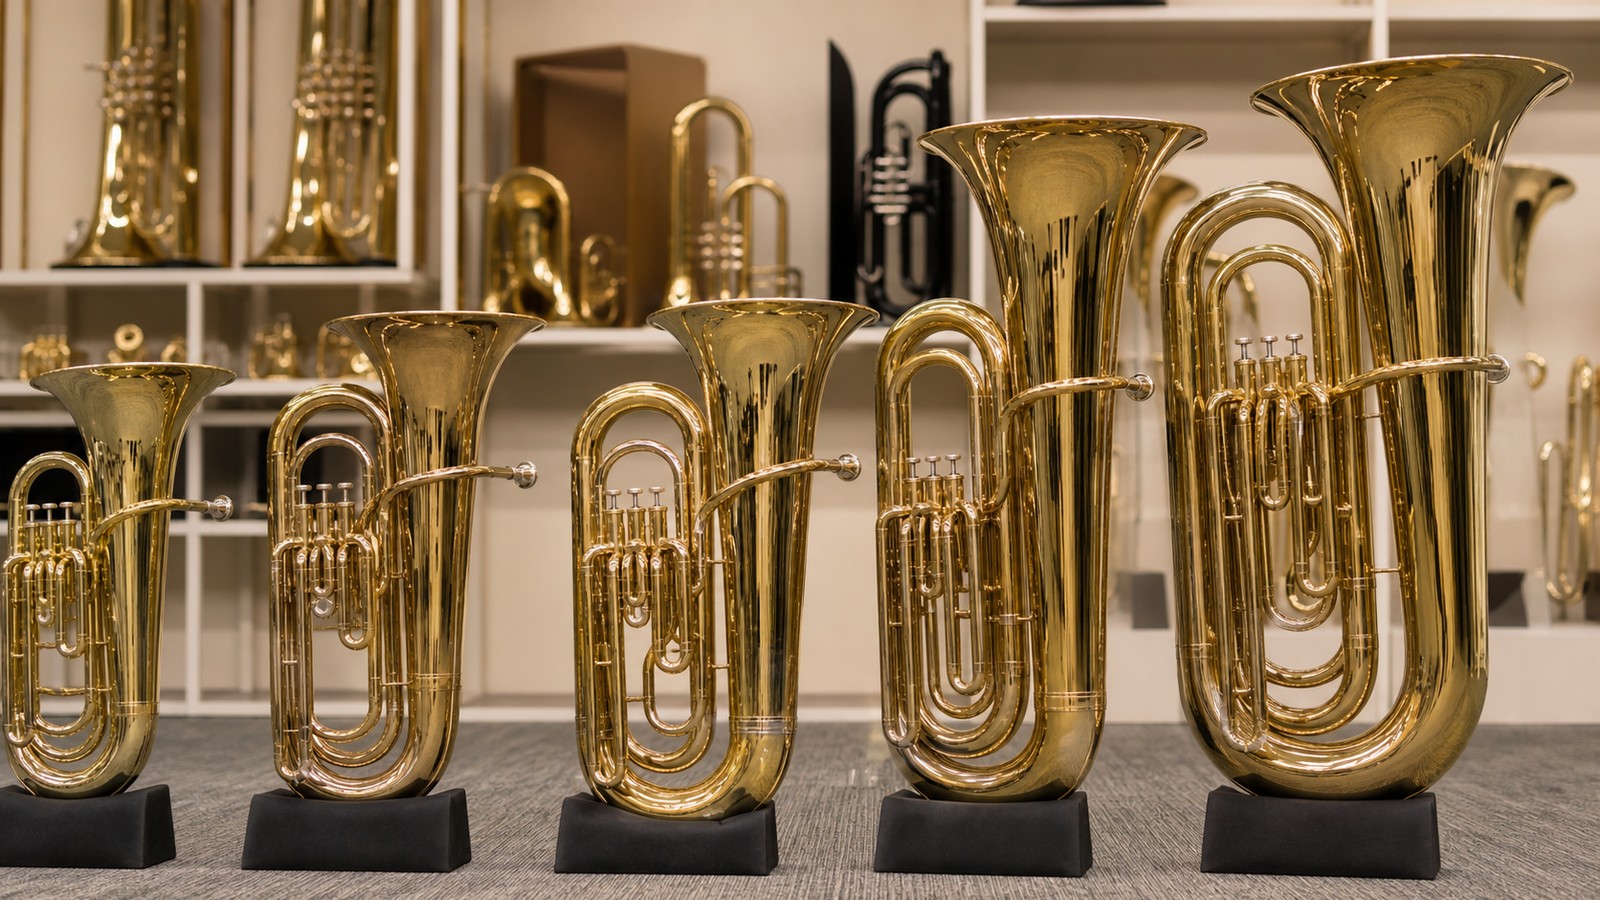
Instrument Size Should Match the Student
Not every tuba fits every beginner equally well. A large instrument may be musically appropriate but physically frustrating for a smaller student. Schools sometimes have limited options, so setup aids become important, but directors should still consider whether instrument size is blocking progress.
A student who can breathe, reach, and sit comfortably will usually improve faster than one who spends every rehearsal fighting the horn.
Fit is not about making the instrument easy in a lazy sense. It is about removing preventable barriers so the student can practice real technique.
Good Hold Makes Better Rehearsals
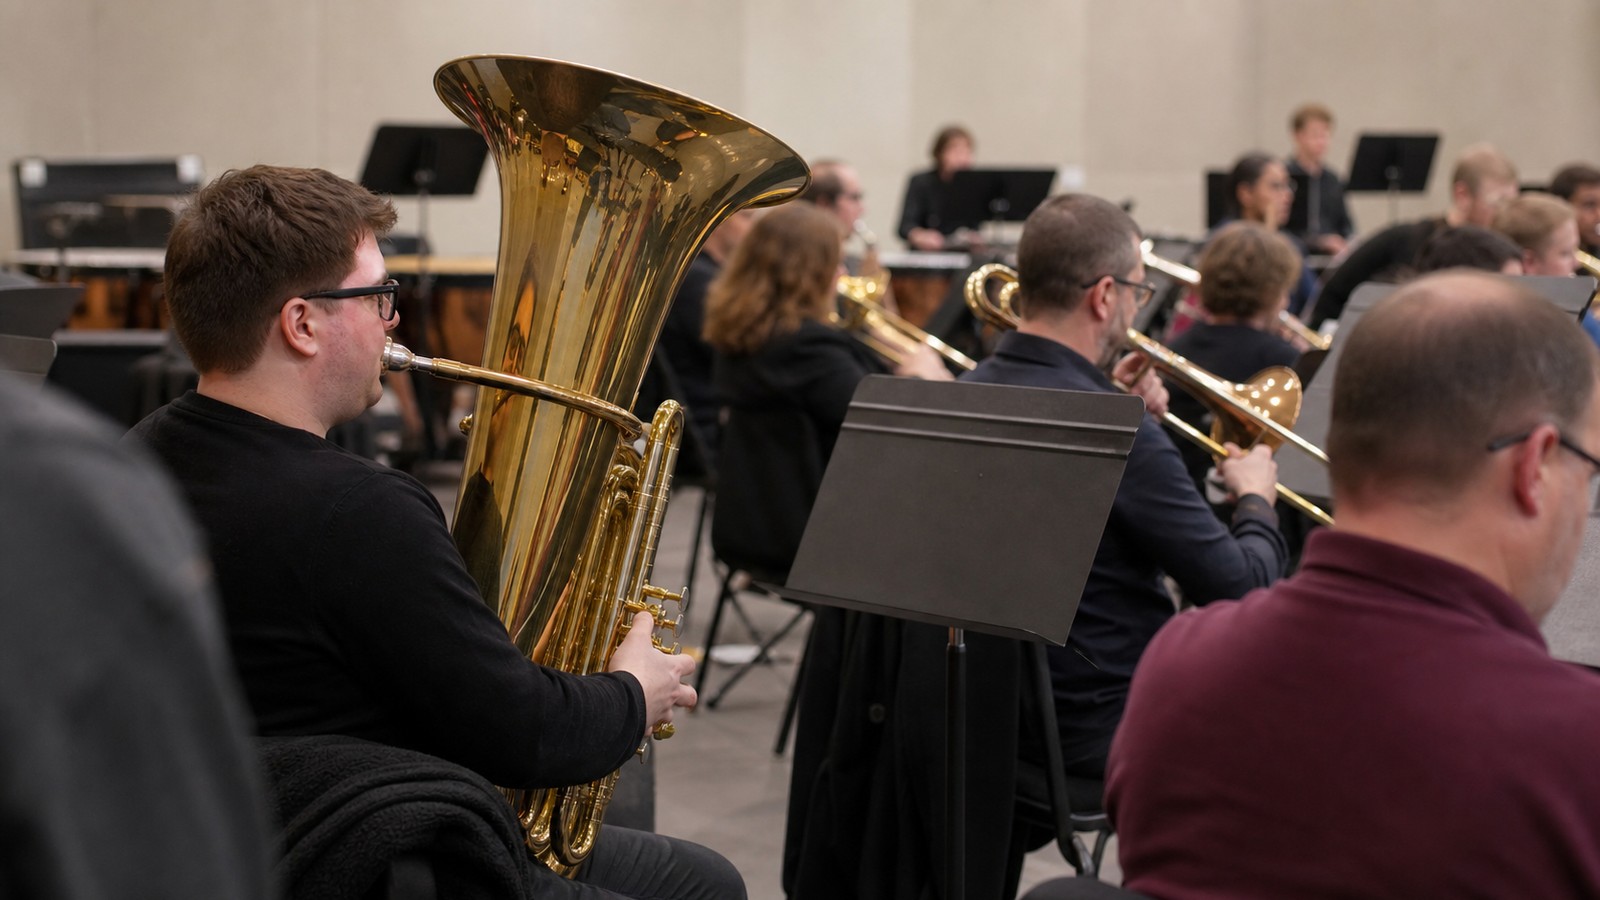
In rehearsal, players need to enter quickly, watch the conductor, turn pages, adjust slides, and respond to section balance. A secure hold makes all of that easier. When the instrument feels unstable, every instruction becomes harder to follow.
This is why posture is not a beginner-only topic. Advanced tuba players still refine instrument position when they change chairs, halls, mouthpieces, or repertoire.
Page Turns Should Not Break Position
Tuba players often have to manage page turns, pencils, mutes, and tuning slides while holding a large instrument. The setup should allow those small tasks without completely rebuilding posture afterward. If every page turn causes the horn to slide, the player may need a different stand height or a more secure resting point.
Correct Holding Reduces Unnecessary Fatigue
A poor hold makes the player tired before the music becomes difficult. The back works too hard, the arms grip, the face receives extra pressure, and the breath becomes shallow. Correct position cannot remove all physical effort, but it can remove effort that does not help the sound.
This is especially important during long rehearsals. A student who starts with bad alignment may sound fine for ten minutes and then wonder why tone and focus fade.
Better holding is therefore a stamina skill. It protects the body so musical endurance can grow.